Microsoft Dynamics 365
Introduction
The Connector for Dynamics365 allows easy access to Dynamics365 data. The Connector abstracts the underlying data source into tables, views, and stored procedures that can be used to both retrieve and update data.

Connection String
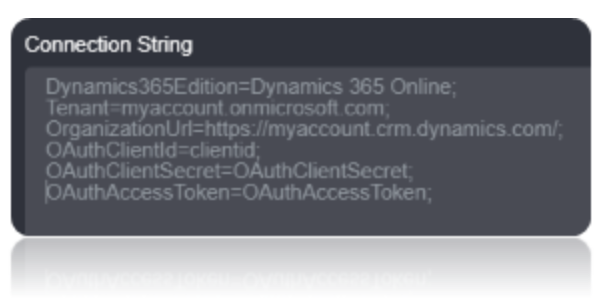
To Connect To Dynamics 365, Set the Edition, Tenant Properties in the Connection String. Additionally, Set the OrganizationURL and OAuth Properties(OAuth Client ID and OAuth Client Secret). Set the CallBack URL also for this Connector. Once the Callback URL is set the OAuthAccessToken will be generated in the Connection string when you verify the Connection Using the VERIFY CONNECTION option.


Tip: The Dynamics 365 Connector requires some additional Parameters in the Connection string in order to maximize performance and data availability.
Other=“UseClientSidePaging=True;Pagesize=10000;CustomURLParams=cross-company=true;”
| Parameter | Description |
|---|---|
| UseClientSidePaging | This setting speed up data Access by using the Built-in Dynamics paging functionality. |
| Pagesize | Use this setting to maximize performance. By default the Dynamics API returns 10000 rows. |
| CustomURLParams=cross-company | Set this Parameter to allow access to all the company available. |

Note: To connect to Microsoft Dynamics in a Simple Way, Refer to Microsoft Dynamics CRM Connector Help
Connection String Parameters
| Parameter | Description |
|---|---|
Dynamics365Edition |
Set this to the Edition of Dynamics 365 being Used. |
Tenant |
Set this to the Microsoft Online Tenant Used to Access the data. |
OrganizationUrl |
Set this to the URL of your Dymanics 365 organization. For Ex, https:// myorganization.crm.dynamics.com/. |
OAuthClientId |
Set this to the ClientId Obtained when Registering your App. |
OAuthClientSecret |
Set this to the Clientsecret Obtained when Registering your App. |
OAuthAccessToken |
Set this to the Token Obtained when Registering your App. |
Connecting To Microsoft Dynamics 365 Connector
- Requires Azure global administrator permissions to carry out steps
Register An App for Dynamics 365 Connector
Open the Azure Portal (https://portal.azure.com) and sign in.
Open Azure Active Directory from the left-hand navigation menu.

Click on App Registrations from the Azure Active Directory left hand menu.
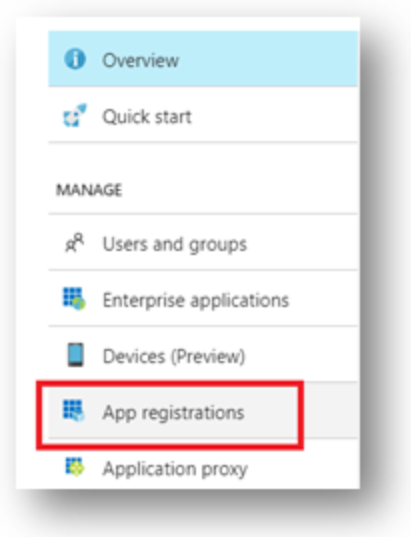
Click on the New application registration button at the top of the App registrations section.

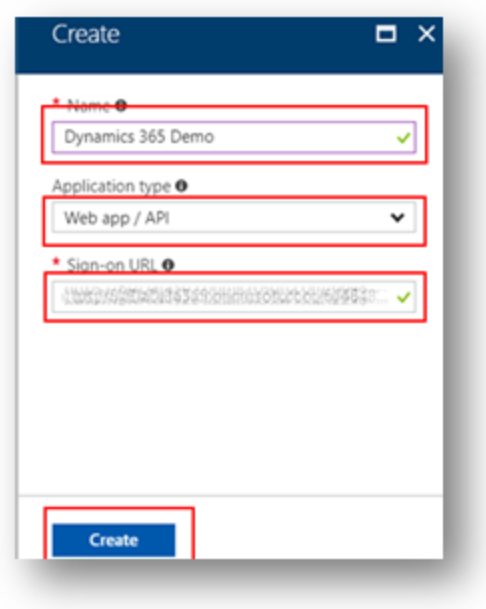
Provide your app registration with the following information:
- Name of your choosing
- Application type of Web app / API
- Sign-on URL of your Dynamics 365 instance
- Click the Create Button
Open your new App Registration from the list of App Registrations.
Note:The Application ID used here is the OAuth Client Id used in the Connection String.
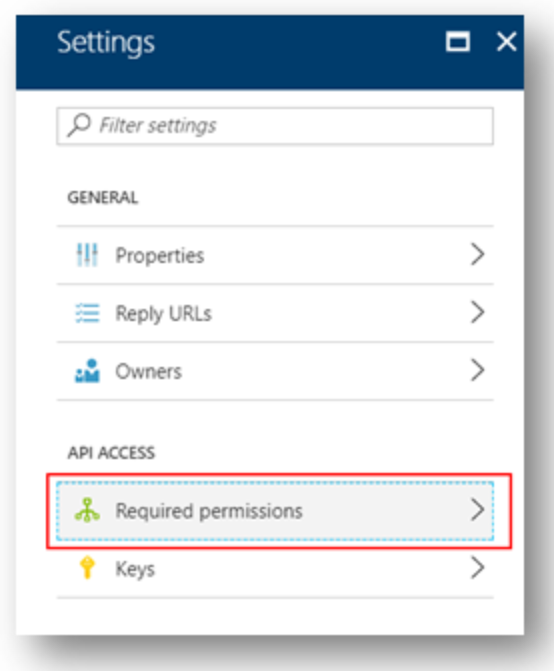
Click on Settings from the App Registration overview.

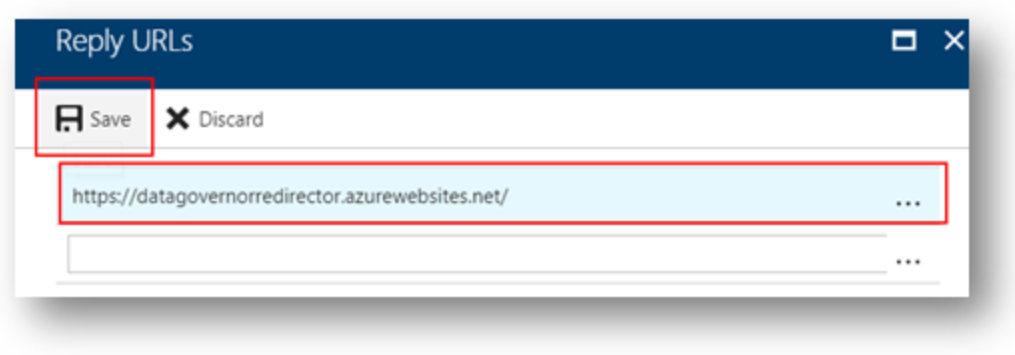
Click on Reply URLs from the Settings menu.
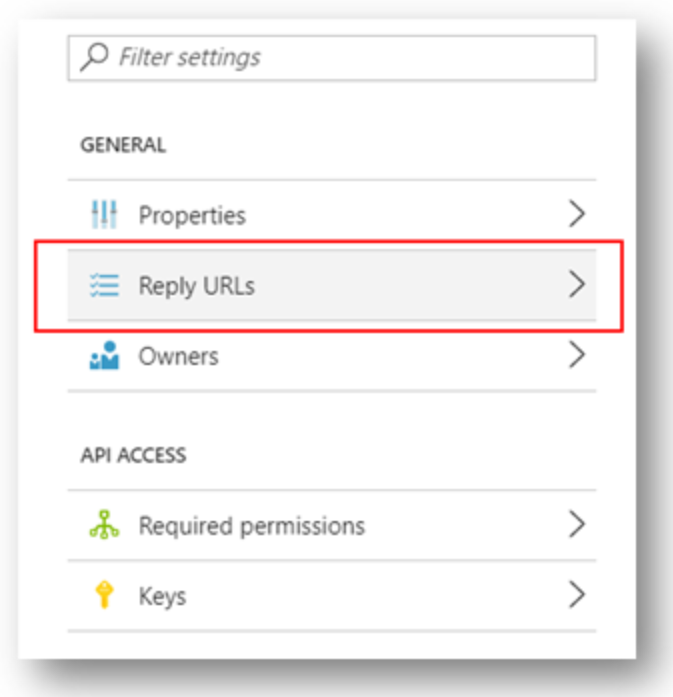
Replace the existing Reply URL with https://datagovernorredirector.azurewebsites.net/.
- Click the Save button.
Click on Required permissions from the Settings menu.
Click on the Add button.

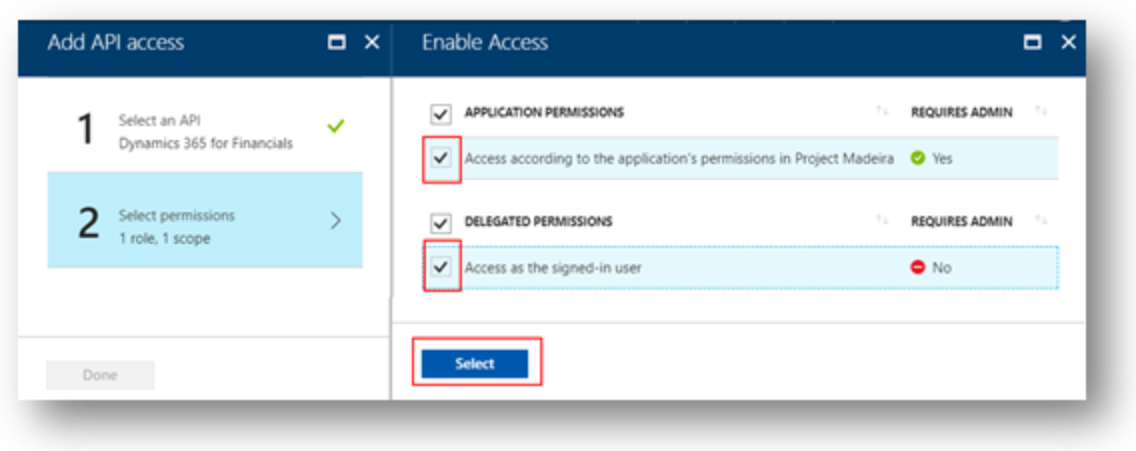
Click on Select an API -> Click Dynamics 365 Financials -> Click Select.

Tick all permissions -> Click Select -> Click Done.
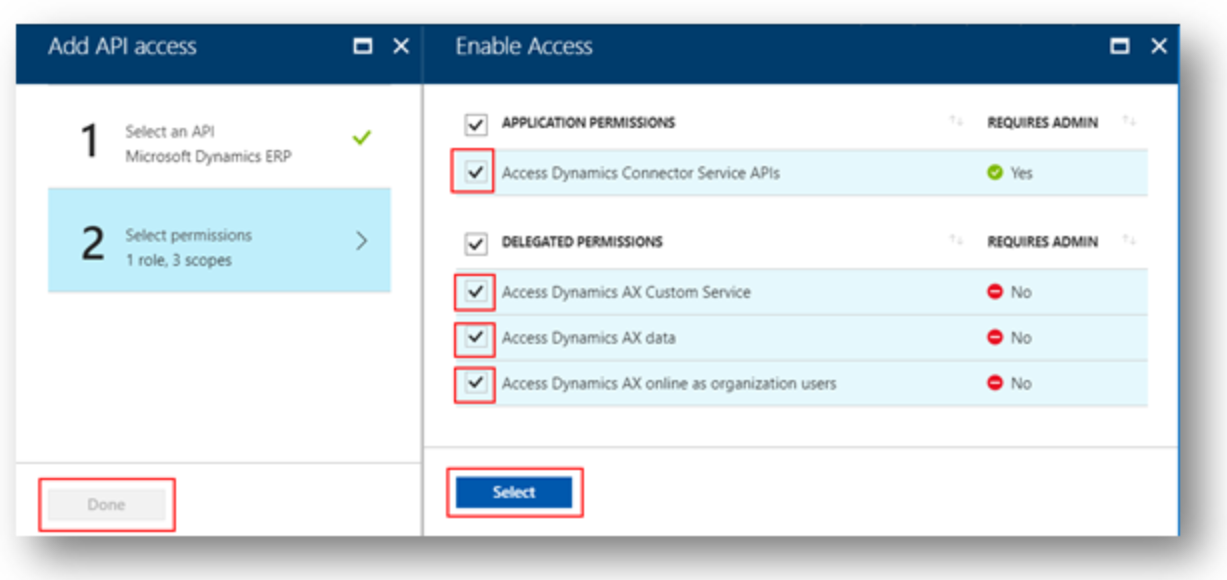
Click on the Add button.

Click Select an API -> Click Microsoft Dynamics ERP -> Click Select -> Click Done.
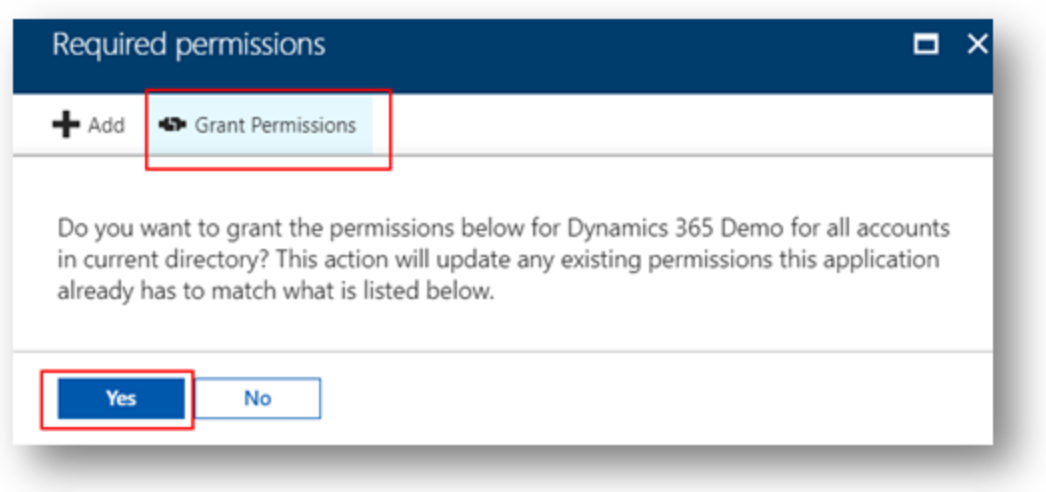
Click on Grant permissions-> Click Yes.
Click on Keys from the Settings menu.
Add a new entry
- Description – DGRedirector
- Expires – Never
Click on Save

Make a copy of the generated key after saving, this is the only time you will be able to do so.
Note:This Key would be the OAuth Client Secret to be placed in the Connection String.
Data Migrations
To Check for the data migrations:
Add a new connection in Loome Integrate as shown.
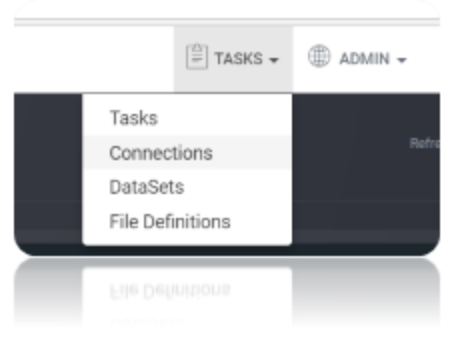
- Go to tasks and click on Connections.
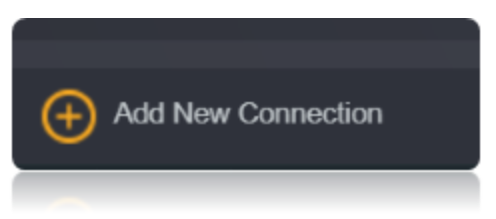
- Add a new connection Using Add New Connection Option.
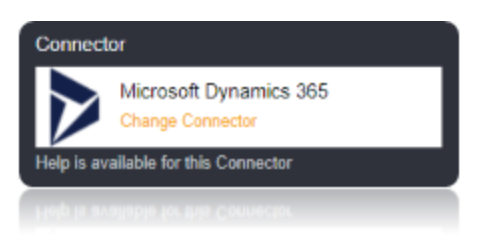
- Choose Microsoft Dynamics 365 Connector from the available Connector Options.
Using the connection string parameters created, Verify the connection using the VERIFY CONNECTION Option in Loome Integrate.


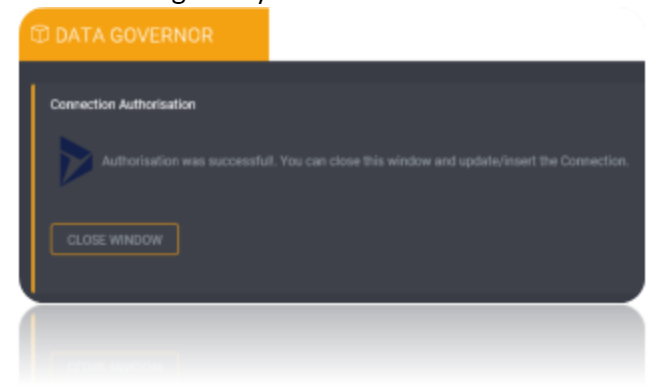
After Clicking Verify Connection the OAuth Tokens are generated in the Connection String. You will be displayed with authorization successful window.
Once the Connection is verified, Insert the Connection Using Insert Option.
Create a Job Using ADD A JOB option in Loome Integrate, add a data migration task to the job.

Create a New Task by right clicking job list and then Add a New Task Option. If you want to edit an Existing Task Use Edit Task.

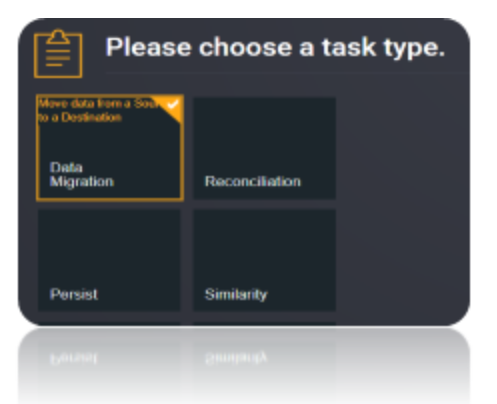
Choose a Data Migration Task.
Choose the source and the destination for the migration of data. Name the Task.

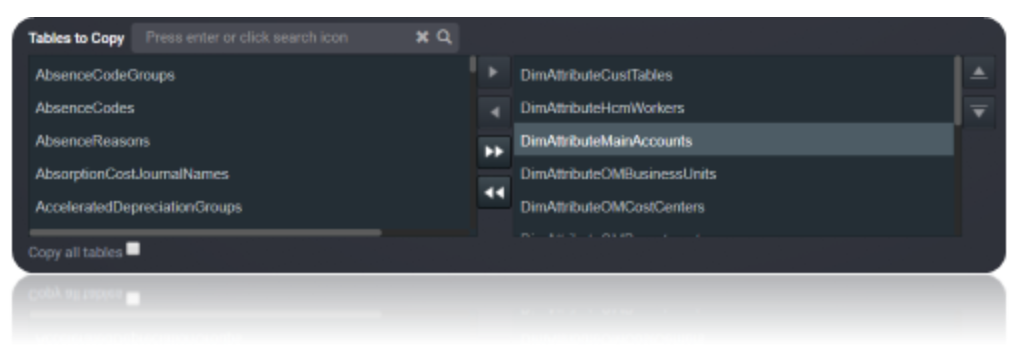
Choose the Tables or the data that need to be migrated from the source to the destination. You can Copy all Tables by checking Copy all tables box.
Execute the Job. Check for results and the details of the data migrated in Execution History.

Data Model
The Connector For Dynamic 365 entitles Dynamic 365 entities as Tables.
Tables
Tables describe the available tables. The tables are normalized and contain an Id column, which is the primary key. Tables are displayed according to the Edition Selected. For Ex, When Dynamics365Edition is set to Dynamics365 operations all the available tables for operations will be displayed.