Application Roles
You can use application roles in the Portal to provide different levels of access to users. These roles can be assigned and managed by an Administrator.
Find the following sections below:
- Application Roles in the Portal
- How to Add Users to an Application Role
- Application Role Status
- How to Delete a User from a Role
Application Roles in the Portal:
- Administrator: Users with the Administrator role have full control and can perform any function across the Portal. They can manage Agents, Source Systems, Users, the Catalogue, Dashboards, Activities, and Metadata.
- Curator: Users with the Curator role can manage the catalogue, activities, dashboards, and metadata.
- Consumer: Users with the Consumer role have read-only privileges and can view the catalogue, shared and personal dashboards and catalogue views.
| Permission | Administrator | Curator | Consumer |
|---|---|---|---|
| Invite new users and manage user application roles | ✔ | ✖ | ✖ |
| Configure remote API access** | ✔ | ✖ | ✖ |
| Access the Portal remotely via API** | ✔ | ✖ | ✖ |
| Add and manage source systems | ✔ | ✖ | ✖ |
| Add and manage agents | ✔ | ✖ | ✖ |
| Add individual assets manually | ✔ | ✔ | ✖ |
| Manage the catalogue | ✔ | ✔ | ✖ |
| Manage activities | ✔ | ✔ | ✖ |
| Manage metadata | ✔ | ✔ | ✖ |
| Manage shared dashboards | ✔ | ✔ | ✖ |
| View catalogue | ✔ | ✔ | ✔ |
| View activities | ✔ | ✔ | ✔ |
| View shared dashboards | ✔ | ✔ | ✔ |
| View personal dashboards | ✔ | ✔ | ✔ |
| Create and share dashboards | ✔ | ✔ | ✖ |
| Edit shared dashboards | ✔ | ✔ | ✖ |
| Create and edit personal dashboards | ✔ | ✔ | ✔ |
| View shared catalogue and activity views | ✔ | ✔ | ✔ |
| Create catalogue and activity views | ✔ | ✔ | ✔ |
| Share catalogue and activity views | ✔ | ✔ | ✖ |
| Create and edit your own discussions | ✔ | ✔ | ✔ |
Currently, API Keys created in the Portal will have the same permissions as an administrator.
How to Add Users to an Application Role
Find the application role page from the top-right settings menu.
Choose the application role from the tabs at the top of the page.
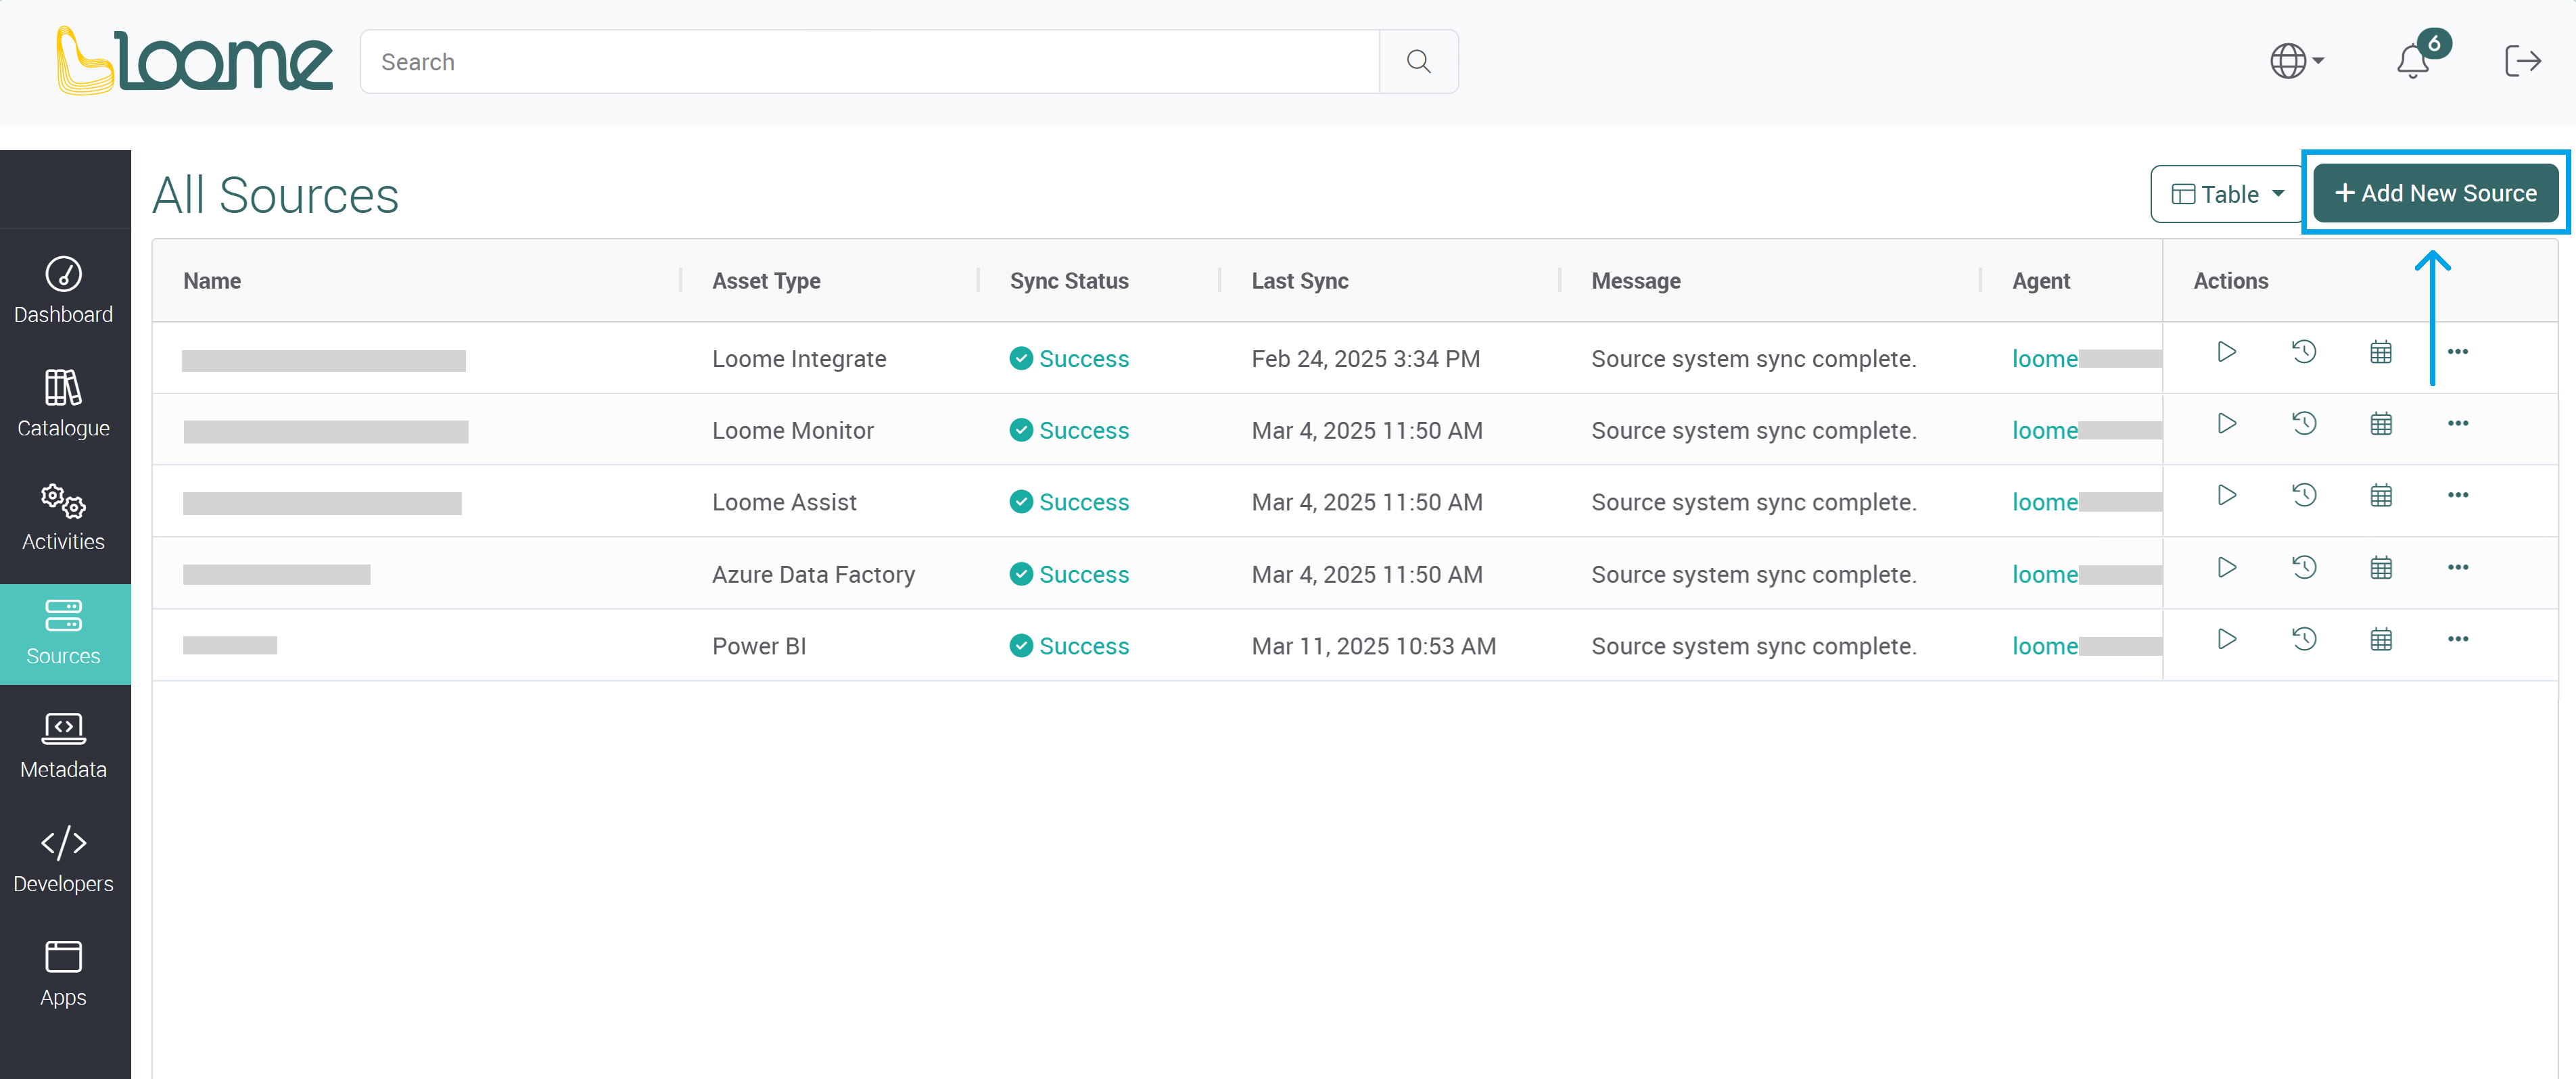
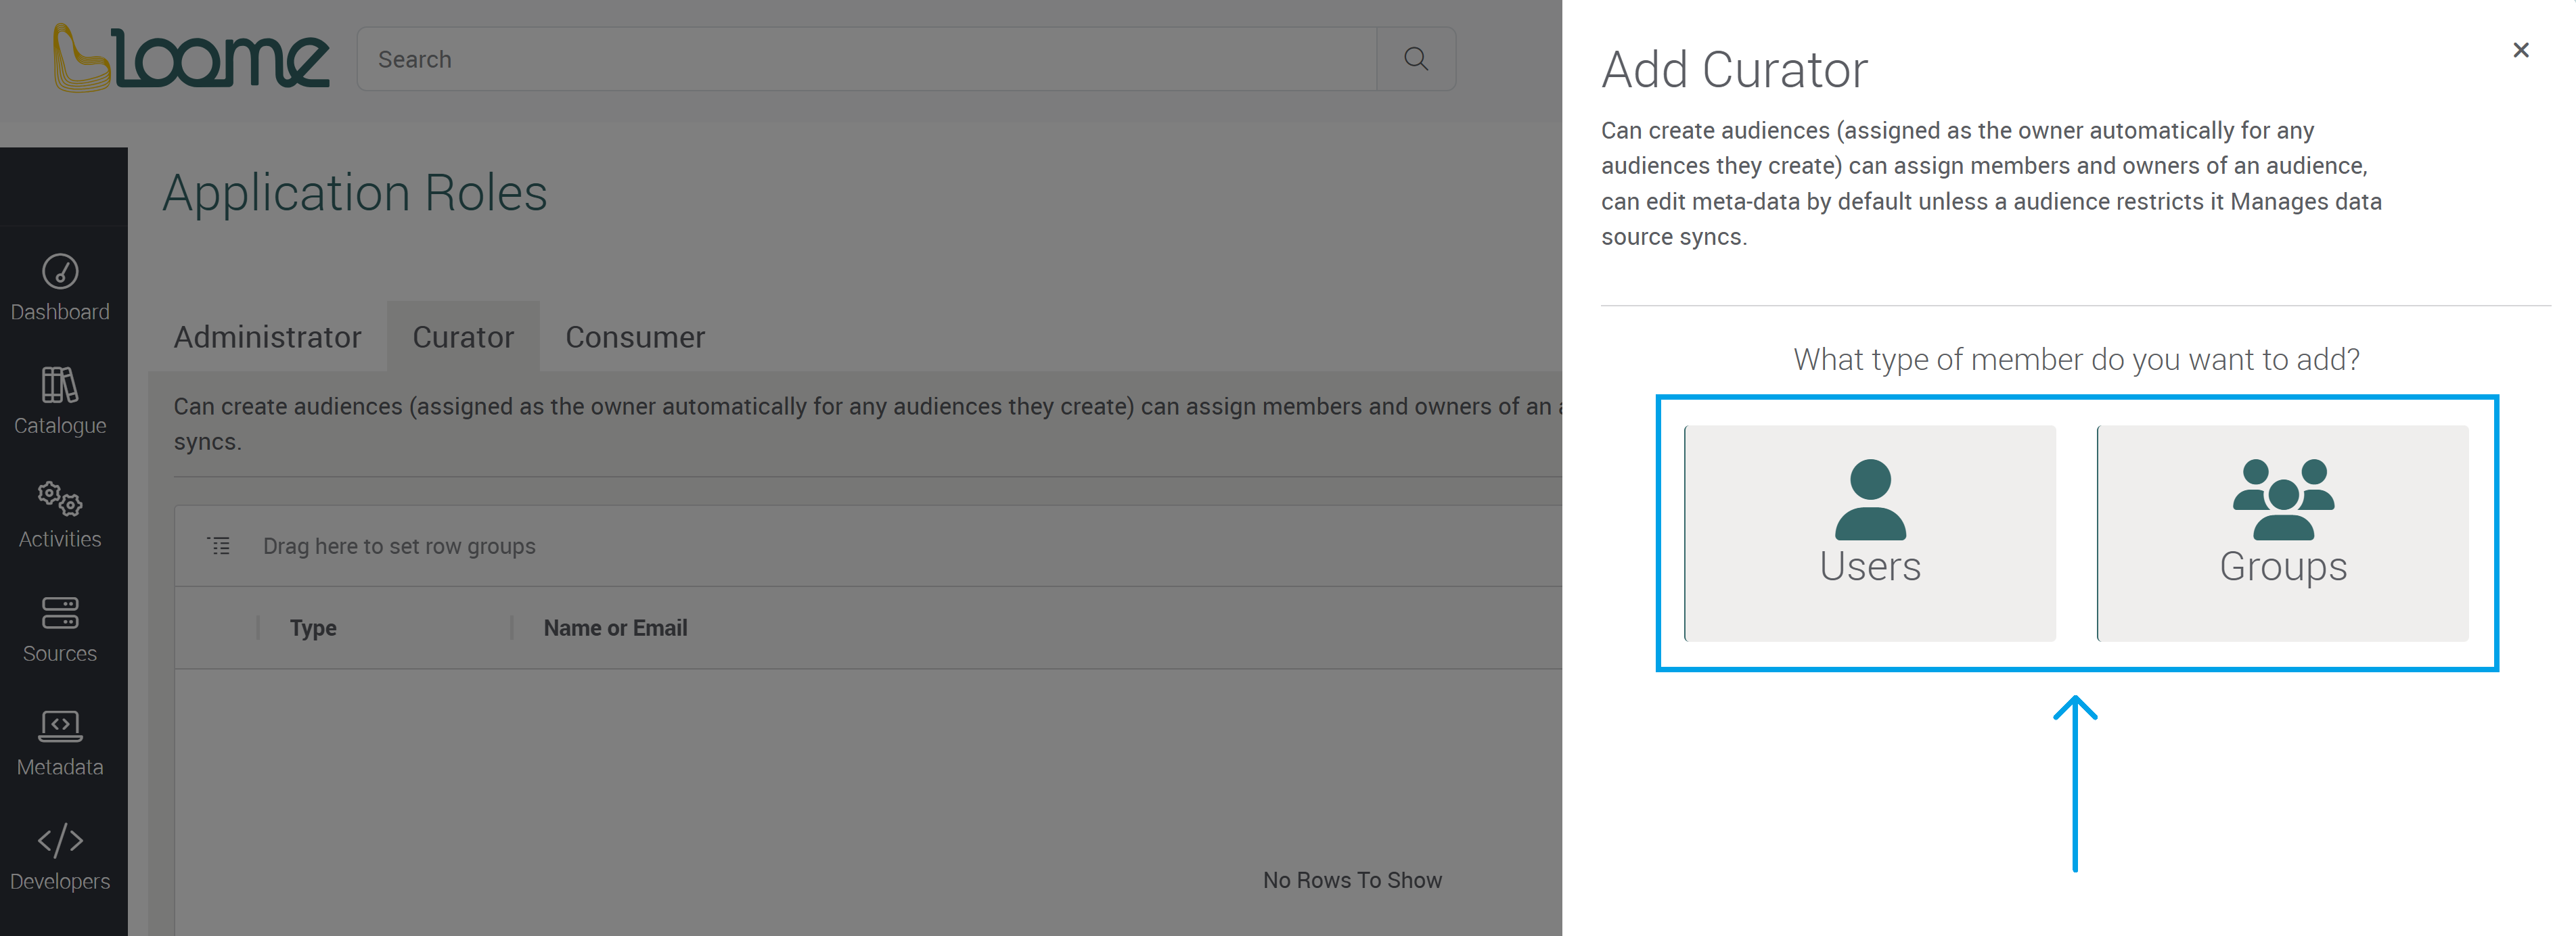
Click on Add found at the top-right of the page and a slide-out will be expanded.
Choose the member type. This can be a user or a group.
The following steps vary depending on whether your organization has enabled user or group lookup. Please contact your administrator if you would like to enable this.
Users that are guests to an organization can only add users manually.
Manually Add Users
In this slide-out, type in the email address of the user and then click Add.
Click on Invite and this user will receive an email invitation. This email will contain a link to the Loome Portal. This user can then log in, and can access the Loome Portal with the permissions of the role you have selected.
Search for Users and Groups
If your organization has enabled lookup, you can search for a user or group in your organization.
Choose whether you want to add a User or Group.
Users
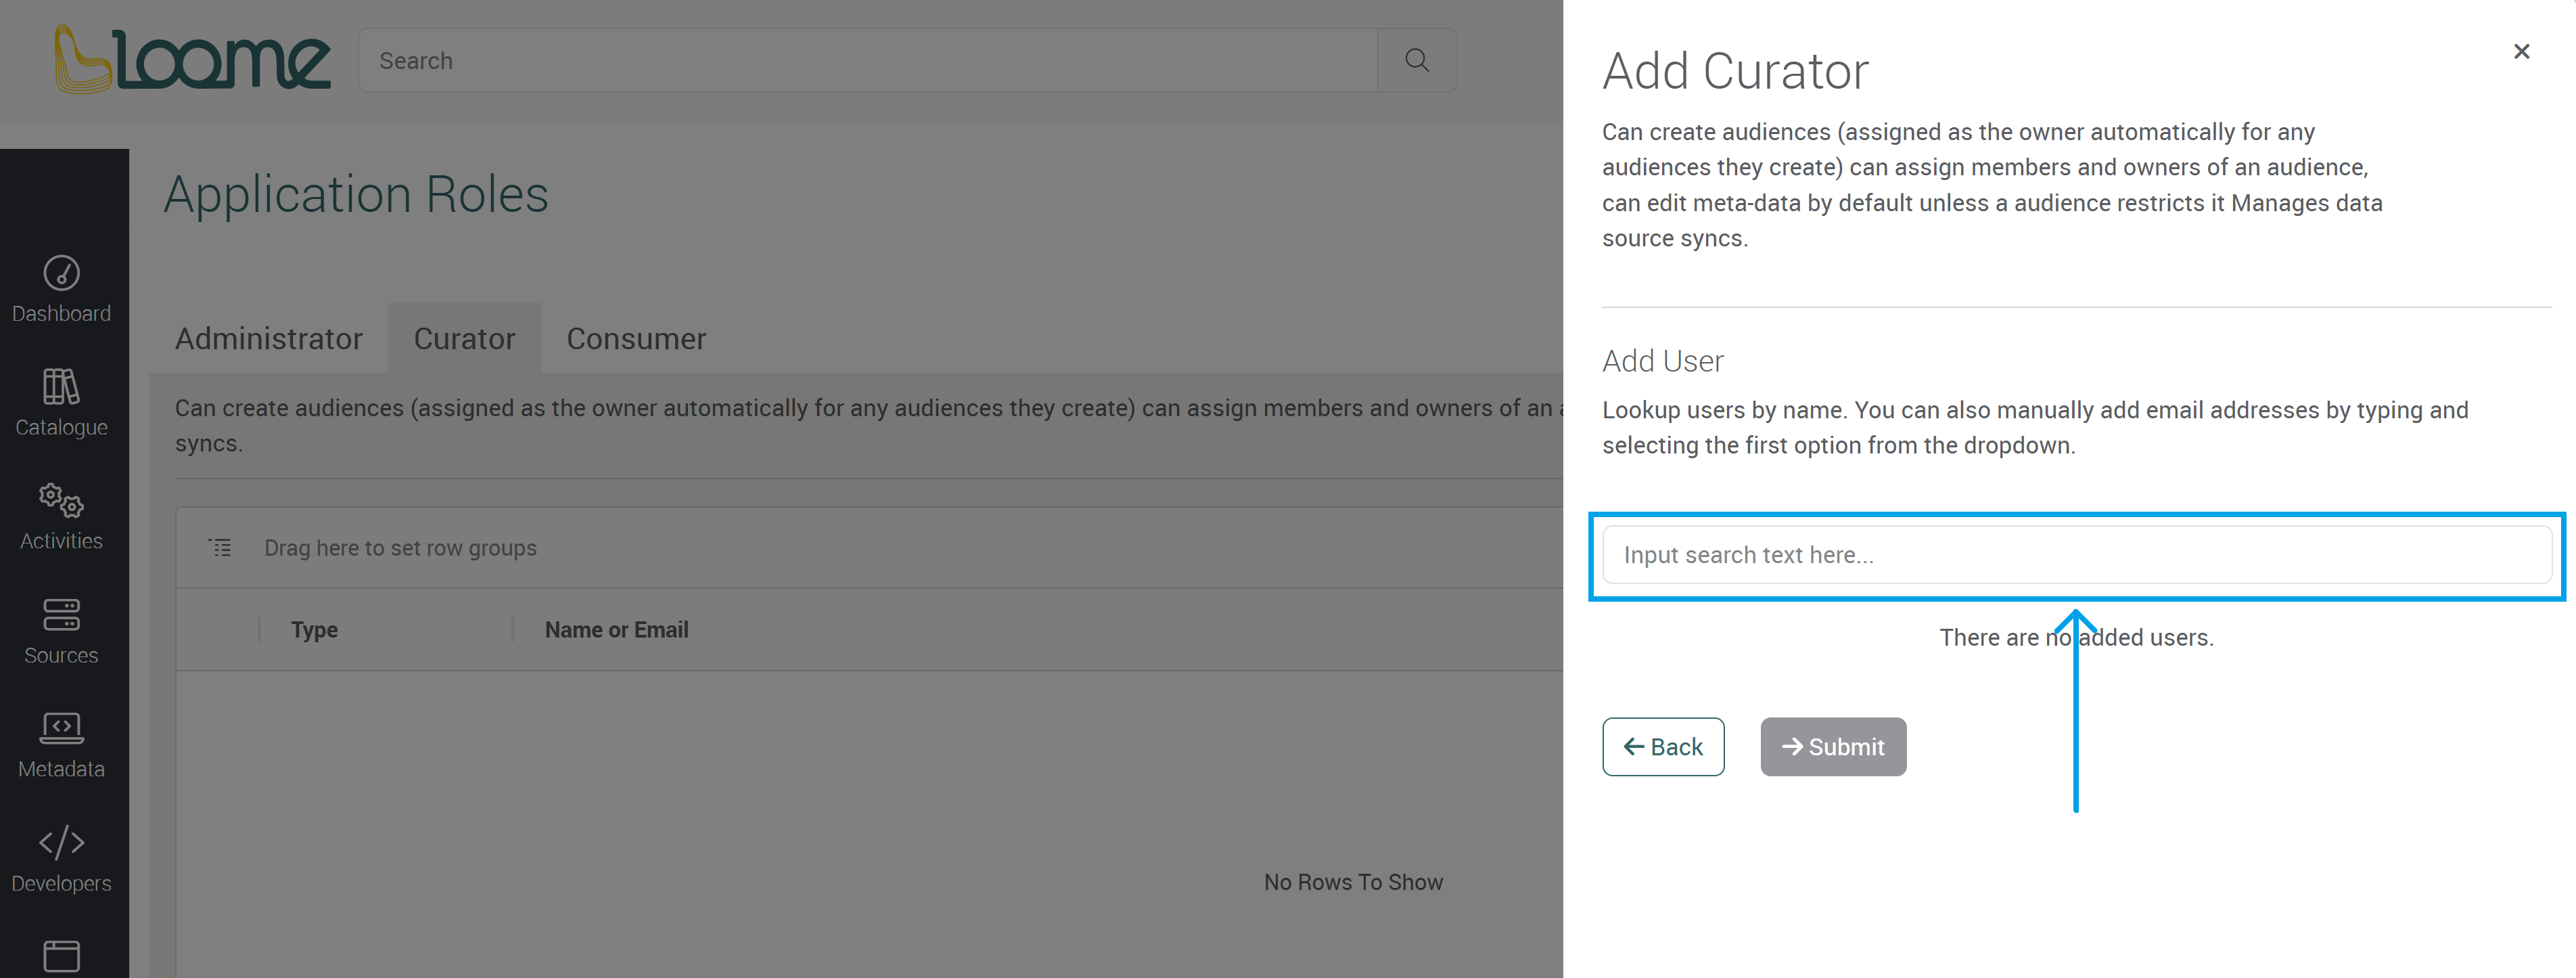
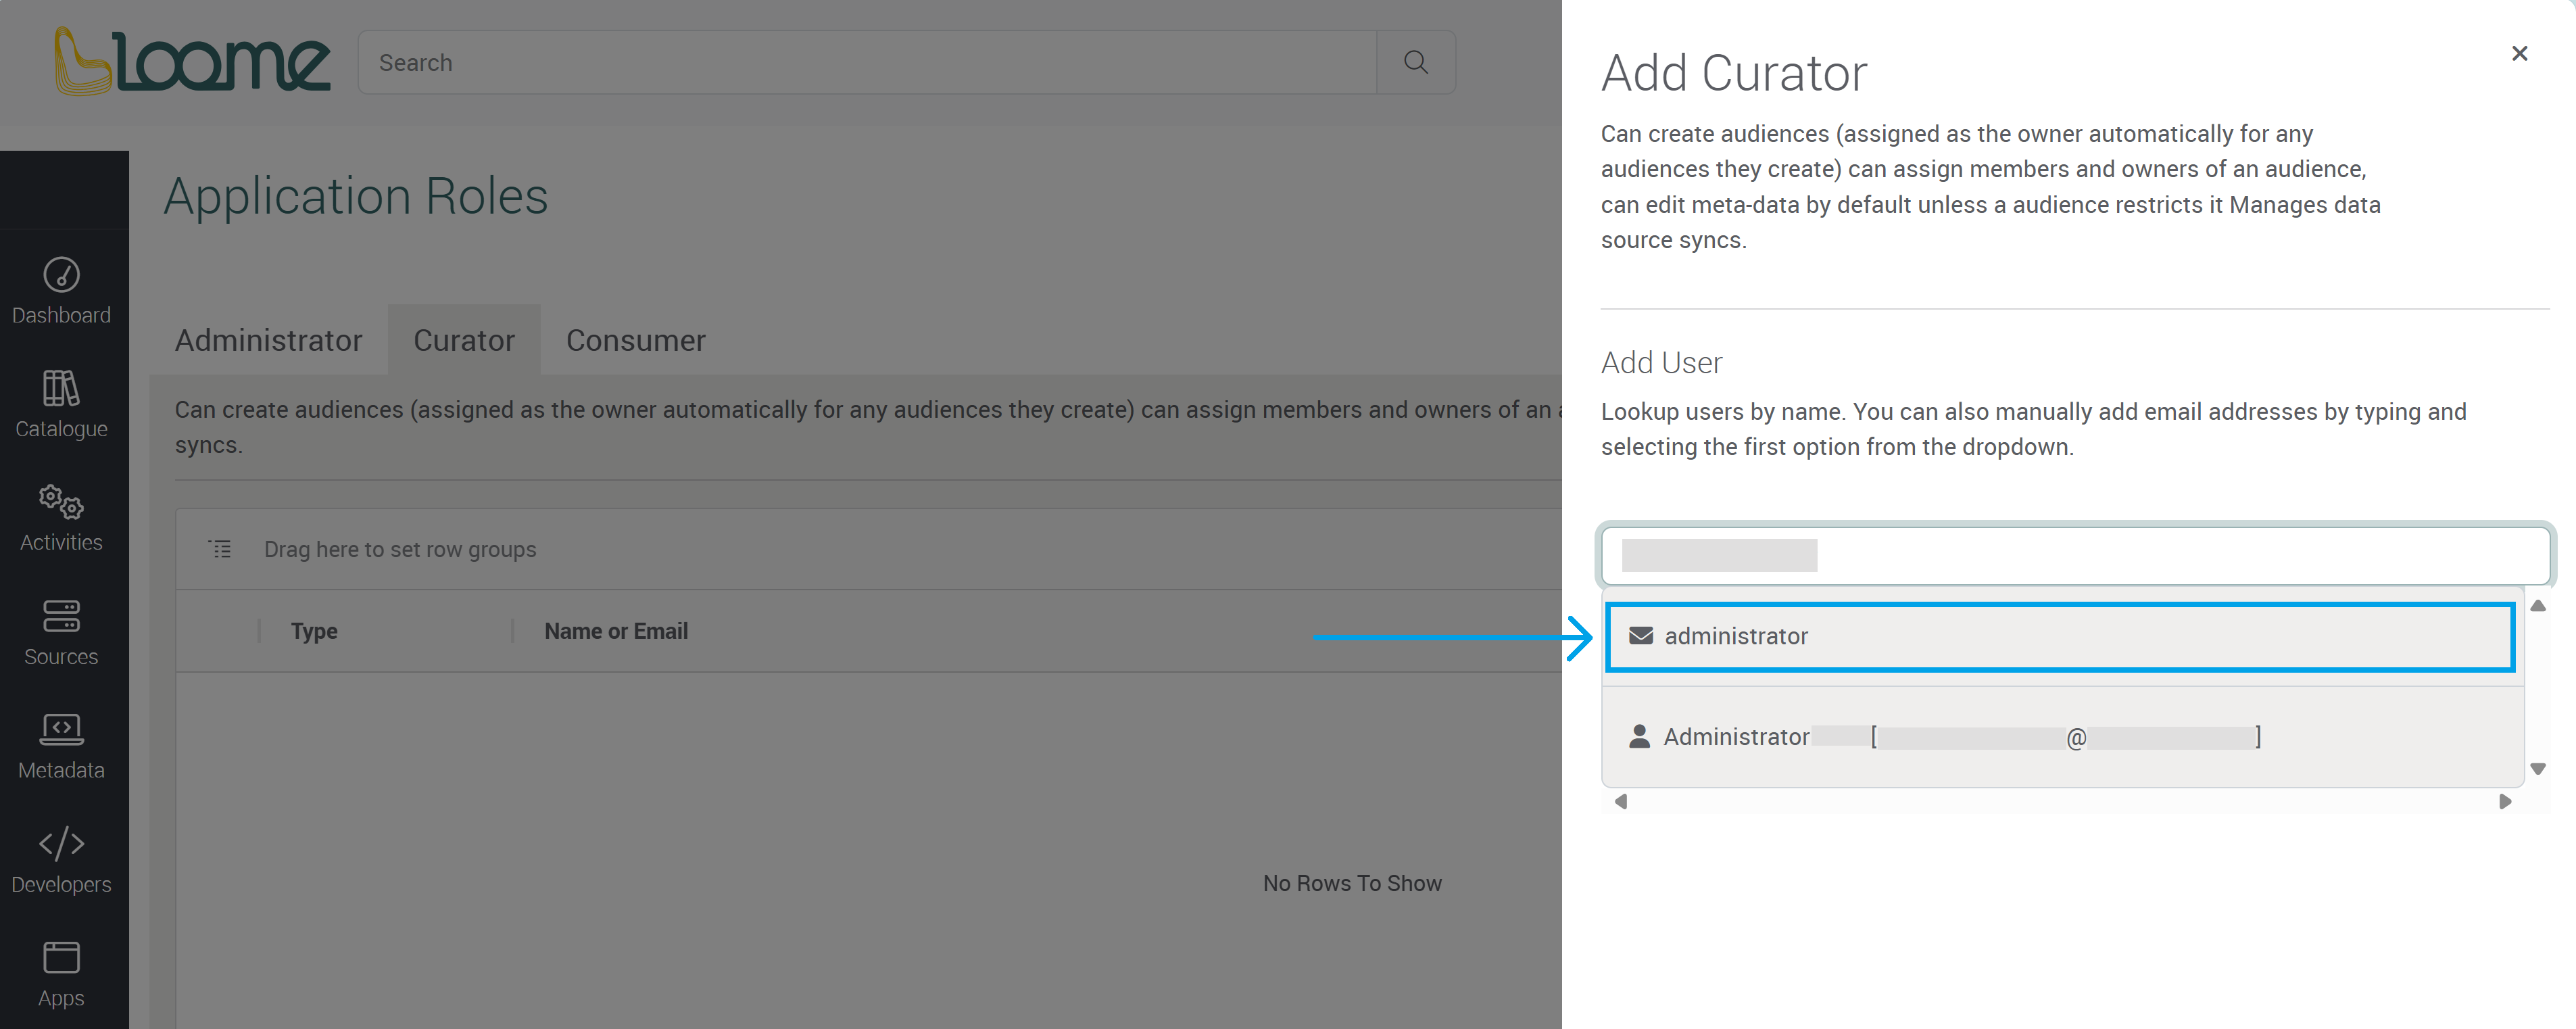
To add a user, search for a user by name in the ‘Add User’ field.
Click on your chosen users from the dropdown. They will be displayed beneath the dropdown.

You can also manually add an email address and select the first option from the dropdown.
Click on Submit to save the chosen user(s).


Groups
To add a group, search for the group by name.

Select the group from the dropdown and it will be listed below.

You can view the members of a group after selecting the group and clicking on the group icon beside it.
Loome will also display the email address, if available, for the group beside it.

Click on Submit to save the chosen group(s).

Application Role Status
If a user has only been sent an invitation, their status will remain as ‘User Invitation’ until they log in, and their status will then change to ‘User’.

Delete a User from a Role
Find the user on the application roles page.
Click on the Delete button at the end of a row beside the user’s name.
This will delete the user from this tenant and any project roles.

Check Which Users Belong to a Group
You can check which users are in a group while adding a group and after adding a group.
When adding a group it can be found by clicking on the group icon beside the group after selecting it in the dropdown.
After adding a group, click on the group button on the right of the group under actions.
