Installing the Agent in Windows and Linux
To add an agent you will have to download and run the Loome agent installer for your platform of Windows, Linux, Docker Run or Azure Container instances.
Click on Agents in the top-right dropdown.
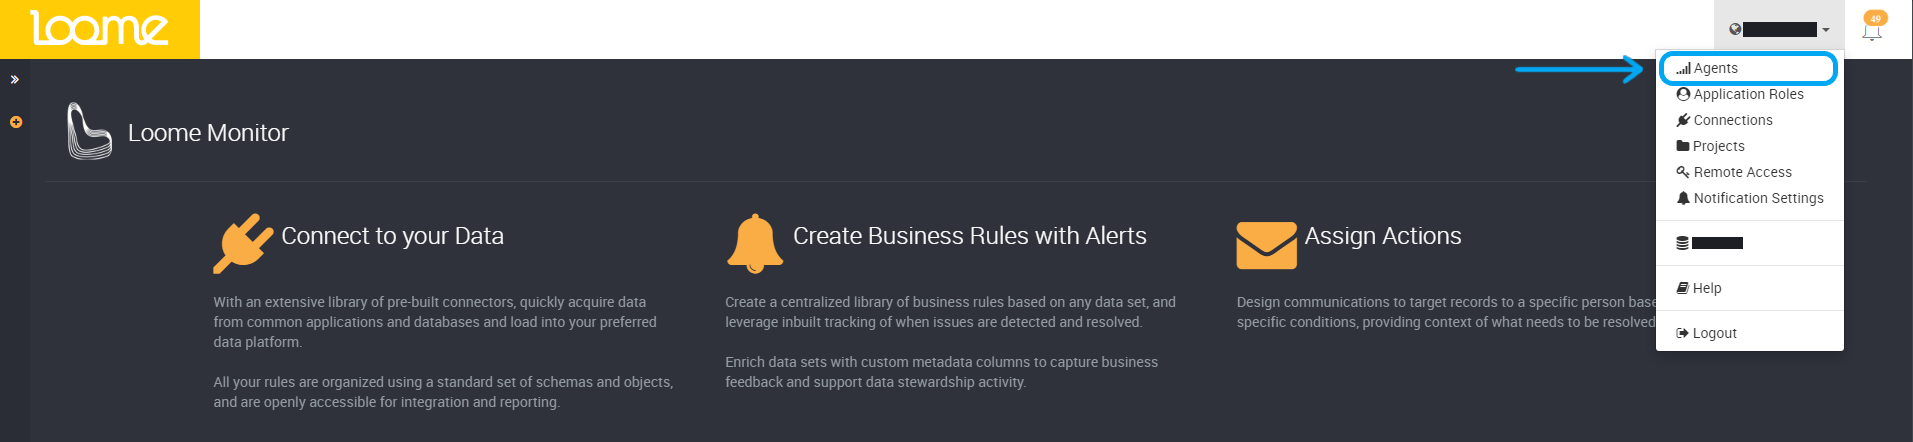
Click on Setup Agent at the top-right.

You can select your platform at the top of the page. Choose from Windows, Linux, Docker Run or Azure Container instances.
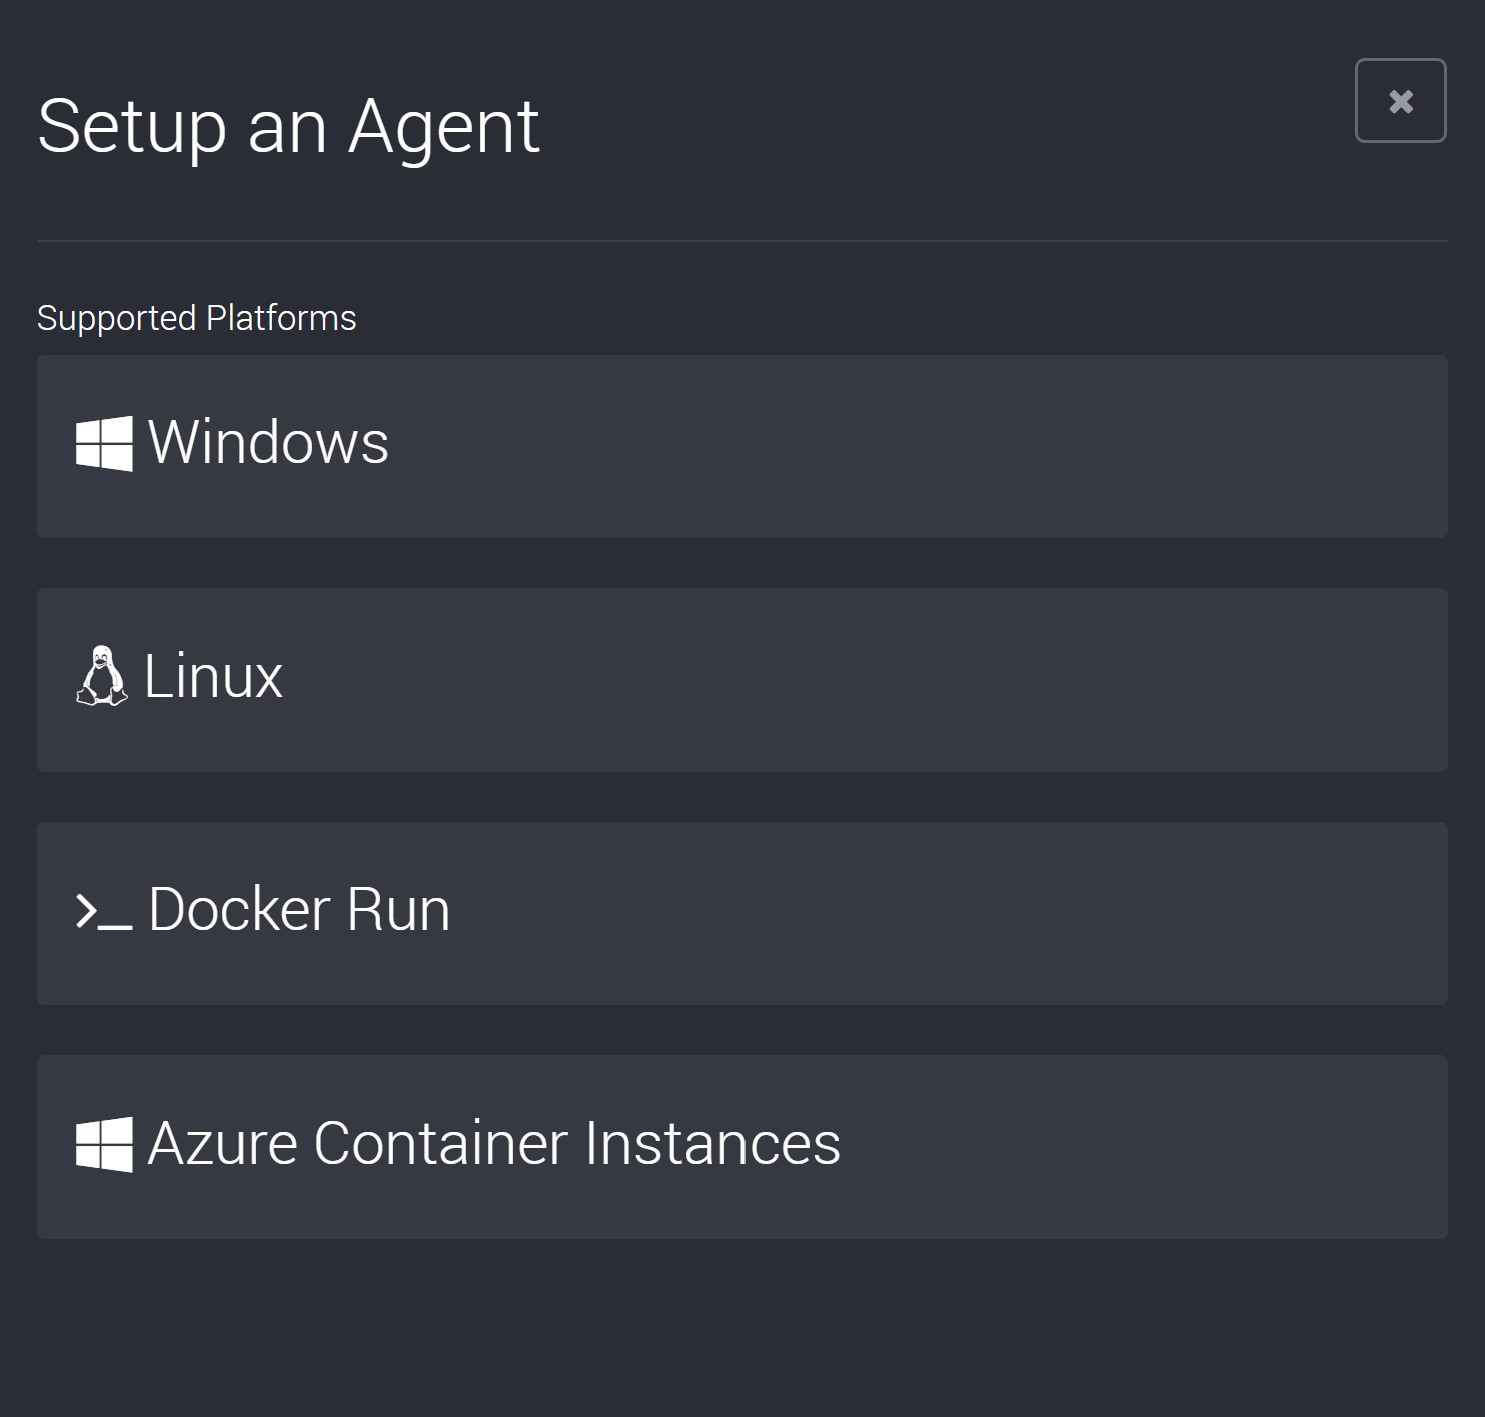
After you have selected your platform, provide the agent details.
- Provide a name for the agent. This should be unique and easily identifies this agent. It may only contain letters, numbers, dashes, and dots.
- Choose an Expiry Date. You can also click on the calendar on the right of the field to choose from a date selector.
- Provide a description for the agent.
On the next page, choose to add networking configuration:
- You can choose to add your own client IPv4 address at the top-right of the table.
- You can also add firewall rules. You can add a range of IPv4 addresses.
- Provide a name for the firewall rule, and then choose a start and end IPv4 address.
If applied, the agent can be accessed from these IPv4 addresses.
Next, review your agent details and then click on Create Agent to create the agent.
Follow the instructions on the next screen to install and configure your agent on your selected environment.
You can then follow the prompts in the installation wizard for your chosen platform.
In Windows and Linux, you will need to first download your agent.
Download Installer and Run the Script for Windows or Linux
The agent installer is a single Powershell Script that will download the necessary run times, the newest version of the agent and it will also pre-configure your agent to connect to this tenant. (If you are upgrading an agent, the script will remove the previous version.)
The install script will automatically be installed as a Local System account. To change the account settings, you will need to modify the service.
Prerequisites:
- Once you’ve downloaded the script, make sure to run the script with administrator privileges.
- Windows users will need to ensure they have Powershell 4 at a minimum installed.
- Linux users will need to install Powershell Core for their platform.
Windows or Linux:
- Follow the next steps to install in Windows.
- Skip ahead to Linux here.
Install in Windows
- Open PowerShell as an Administrator in the folder that contains the new Loome agent installer.
If other Loome agent installer files are present in this folder, you must run the newest file. The best way to avoid any confusion is to remove all installer files before downloading a new agent.
- You can also use the script with the silent install option. It will proceed with the agent installation selecting the default options for the prompts. It will choose “Y” for confirming the installation of the agent, “N” for installing SnowSQL(for use with Snowflake Cloud Data Warehouse), and “N” for using Microsoft Genomics.
- To use silent install, select the checkbox beneath the install script.
- To use silent install, select the checkbox beneath the install script.
- Copy the script from Loome and paste it into your installation window, Administrator mode in Windows PowerShell, and run the script.
- Follow the installation script and answer any prompted questions.
- You may be prompted to install additional components during the installation, these are optional components.
- If you haven’t selected to use silent install, you will be asked if you will be using SnowSQL or Microsoft Genomics with this agent.
- If you decide you want to install an optional component later, you can run the installation script again.
- You may be prompted to install additional components during the installation, these are optional components.
- This script will download the newest version of the agent whilst removing older versions.
- It will start the service and complete installation.
If you see that the agent is unhealthy in Loome Monitor, first refresh the page and if it is still unhealthy please restart the service.
You are then ready to use this agent in Loome Monitor.
Agent Information
Location
In Loome under ‘Information about this install’, you can learn where the agent will be installed, where log files can be found, and the service name of the agent that it will run under.
When you first install this agent, you can find this information on the installation page. This can be later found when reinstalling the agent, and when editing the agent in Loome Management.
- The agent will be installed in
%ProgramData%\LoomeAgent\your-agent-number - If running as a service, service will be named
loome-agent-your-agent-number
Install in Linux
The agent can be installed in a Virtual Machine on-premises or in the cloud and will run as a Linux service. The best place to install the agent is where it can access both source and target data.
You might require additional configuration, such as outbound firewall rules, you can find more info here
- Download the Agent Installer from Loome. This is a PowerShell installer script that is preconfigured to connect back to this tenant.
- Open an elevated shell in the directory of the new installer.
- You will need to do this before running PowerShell Core to ensure the agent installer runs with the right permissions.
- Copy and run the command from Loome in the Linux shell window.
If other installer files are present you must run the newest file. The best way to avoid confusion is to remove all installer files before downloading a new installer script.
- Follow along with the install script.
- The script will download the latest version of the agent. (If you are upgrading an agent, the script will remove the previous version.)
- You may be prompted to install additional components during the installation, these are optional components.
- If you decide you want to install an optional component later, you can run the installation script again.
- It will complete installation.
Optional: Setup Kerberos Authentication
If you want to use Kerberos authentication with any Loome connections and don’t want to manually create Kerberos tickets, you can create KeyTabs for the Loome agent.
Run ktutil as a super user and copy and run the command from Loome. Make sure you replace USERNAME and DOMAIN.
How to Configure the Service
First, open up Services on your computer.
Find the agent you just installed with the same name listed in Services. It will be loome-agent- followed by your unique agent code. You can find the name under ‘Information about this install’ on the setup page in Loome.
Once you’ve found your agent, open up the log on window.
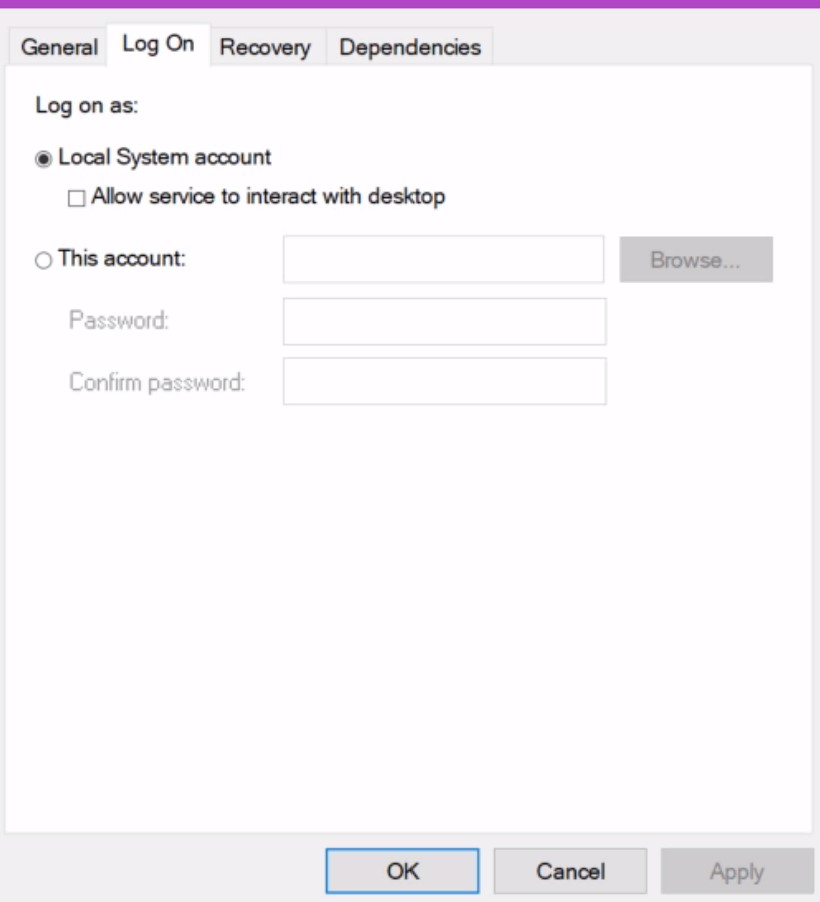
Change the account here.
Once you save, the agent will now use this account.
Installation Locations
Loome agents are installed in a standard directory, based on a unique ID. All agent installs can be found in %ProgramData%\LoomeAgent on Windows and /.loomeagent/ on Linux. There is no need to take note of this directory when updating the agent, as the install script will automatically detect if an agent is installed for the related tenant. You can find the path under ‘Information about this install’ on the setup page in Loome.
This can be later found when reinstalling the agent, and when editing the agent in Loome Management.
Running Without a Service
Whilst we highly recommend you run the agent as a service, you are able to run it as a console application you startup when necessary. Agents can be run as a console application using the Run.ps1 powershell script located in their install directory.
Windows Considerations
If the agent is running as a service, you will need to provide an account with “Logon as a Service” functionality.
When providing the username and password credentials for the service, ensure that you include the domain as part of the username. Eg: “Company\User” or “DeviceName\LocalUser”
Agent services can be viewed in the Windows Services manager under the name loome-agent-[unique identifier for the agent] (eg:loome-agent-b0...-f78).
Linux Considerations
Service Requirements
The installer currently supports configuring the agent on Linux as a systemd service. This means that whilst the Loome agent may run on any platform that supports .NET Core , automatic agent service configuration through the install script is only available to distributions that support systemd.
“loomeusers” Group
The installer will create a new group called loomeusers on install, this group is used for managing file permissions in the /.loomeagent directory and so it is a requirement that the group is created.