Installing the Agent as a Container
To install an agent as a container, find our steps for Docker Run or Azure Container instances below.
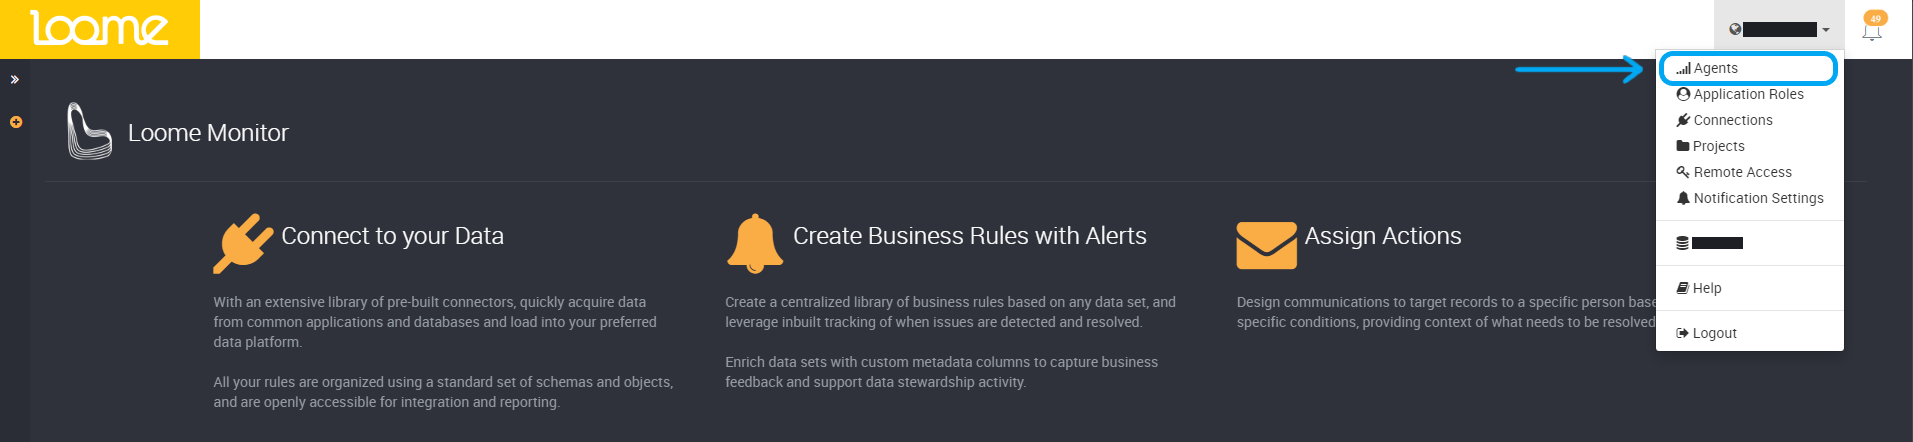
Click on Agents in the top-right settings menu to be directed to the agent page.
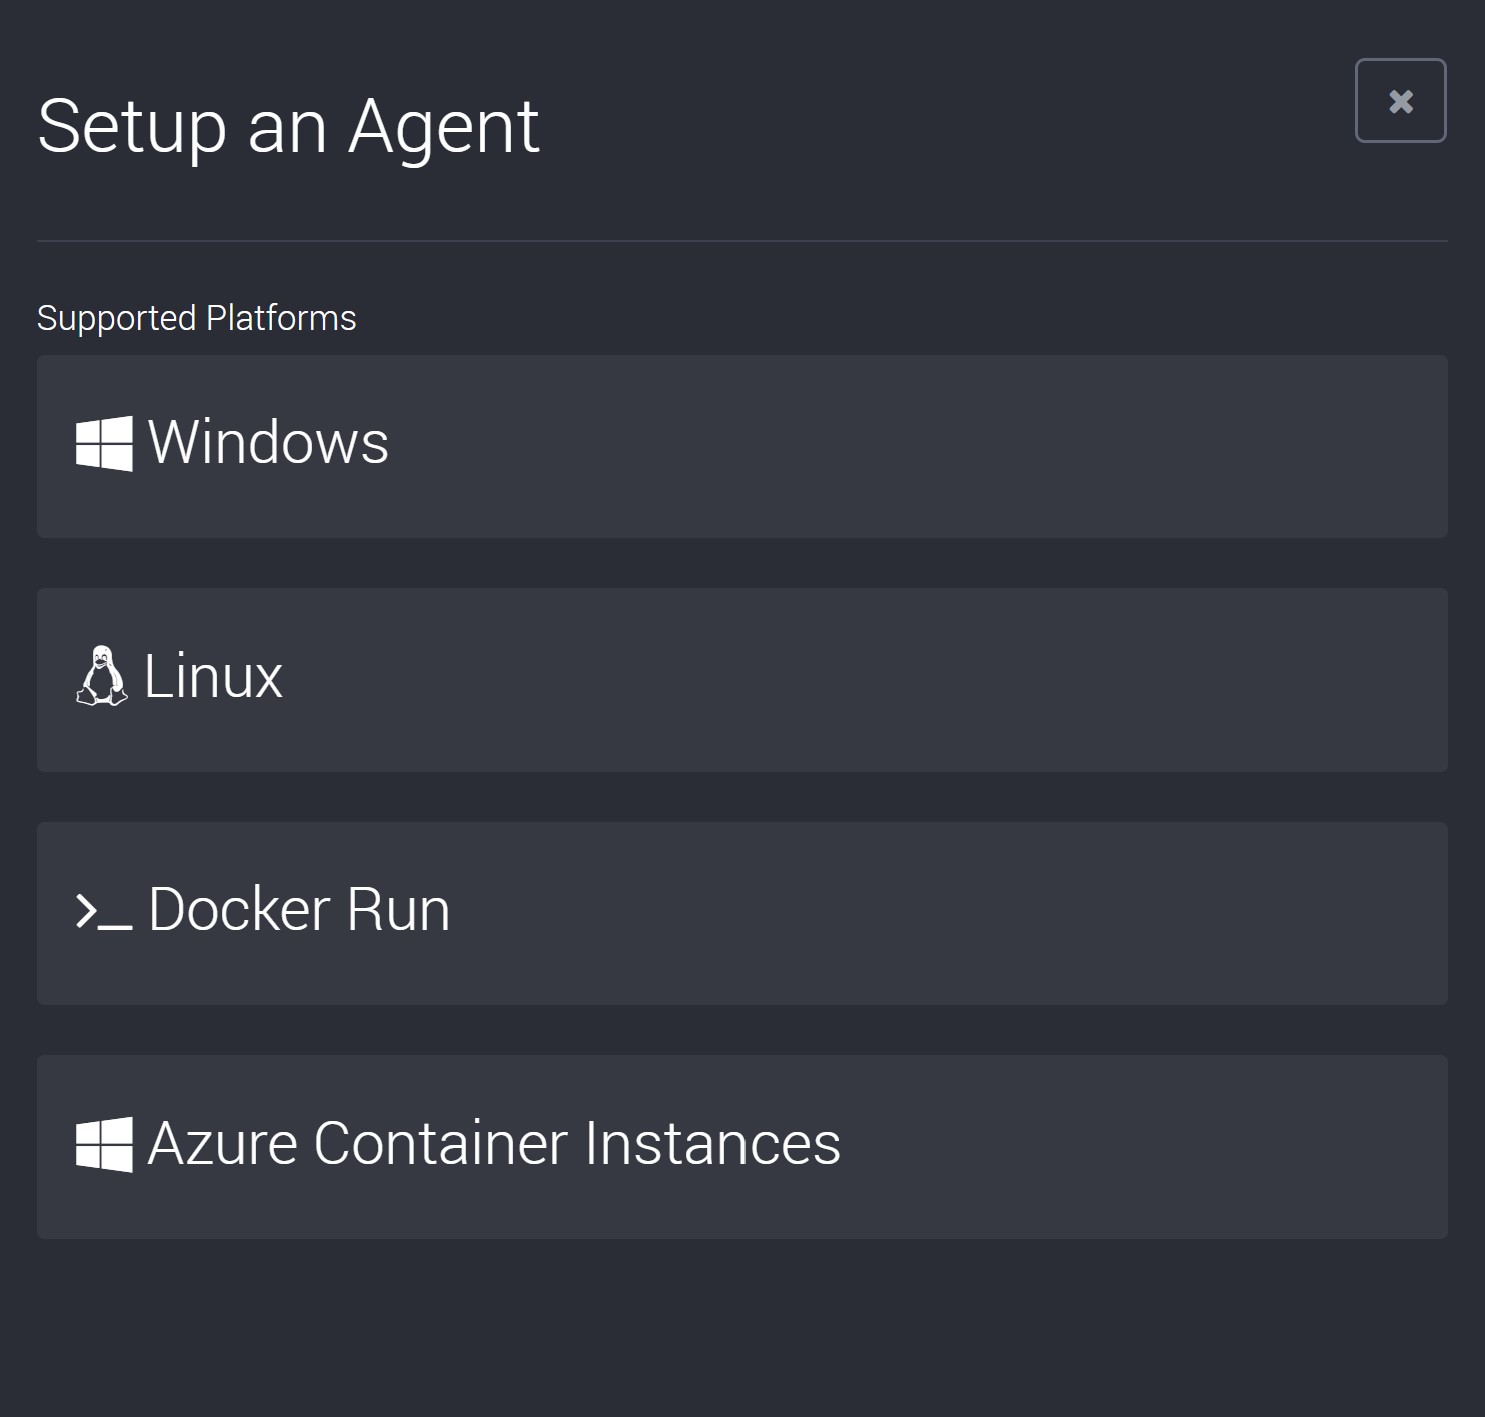
Click on Setup Agent.

You can select your platform from the tabs at the top of the page. Choose from Docker Run or Azure Container instances.
Agent Details for Both Container Types
After you have selected your platform, provide the agent details.
- Provide a name for the agent. This should be unique and easily identifies this agent. It may only contain letters, numbers, dashes, and dots.
- By default, the agent name is the same as the container name. For containers in Docker or Azure Container Instances (ACI), you may provide an agent name that is different from the container name.
- Choose an Expiry Date. You can also click on the calendar on the right of the field to choose from a date selector.
- Provide a description for the agent.
On the next page, choose to add networking configuration:
- You can choose to add your own client IPv4 address at the top-right of the table.
- You can also add firewall rules. You can add a range of IPv4 addresses.
- Provide a name for the firewall rule, and then choose a start and end IPv4 address.
If applied, the agent can be accessed from these IPv4 addresses.
Next, review your agent details and then click on Create Agent to create the agent.
Follow the instructions on the next screen to install and configure your agent on your selected environment.
You can then follow the prompts in the installation wizard for your chosen platform.
Docker Container
Loome supports running the agent using Docker. The official Loome Agent image is available from the Docker Hub at loomesoftware/agent. Docker Agents are configured entirely through environment variables/secrets so there is no need to mount additional volumes for configuration files.
After you have selected your agent details, choose your container details.
- The container name is the same as the agent name by default, and will also be used for the container. You may provide a different name for the Docker container and it will display in Docker using this name.
- Choose a ‘Docker Image location’ from the dropdown. This is where the Loome Agent image is pulled from.
Then choose your networking configuration.
Click ‘Next’ and review your selected details.
After you have created your agent, you can find the installation commands.
On the Docker installation screen, you can generate shell commands that will pre-configure the Docker based agent to automatically run and connect to your tenancy.
Whilst Loome only generates commands for certain installation options, the agent is compatible with any Docker based platform.
To update agents being hosted in Docker, just run the same installation script again.
Using Docker Run
The Docker Run tab provides a generated command for installing the agent using docker run. This command by default will run the
agent as a detached background service which will automatically restart with the host PC’s restart.
Whilst the Docker Run command provides all environment variables inline with the -e switch, these environment variables can be
used to host the agent using other means such as an envlist or orchestration engines like Docker Swarm and Kubernetes.
Using Azure Container Instances
The Azure Container Instances (ACI) tab provides a generated command to create an ACI resource for the agent after you have provided your agent details.
The command provided needs to be ran in an instance of the Azure Cloud Shell or a connected Azure CLI, a valid resource group name is also required for billing purposes.
SQL Server may require a firewall exception for the container. To get a containers public IP address, execute the following command in the Azure Container instance: curl ifconfig.co
After you have selected your agent details, provide the details needed for where you want to deploy the agent:
- Provide a Container Name.
- By default, the agent name is the same as the container name. You may provide a different name for the container in Azure Container Instances (ACI), and it will display in ACI using this name.
- Choose an Azure Region from the dropdown.
- Provide the name of an existing resource group where this container will be provisioned in the Resource Group field.
- Choose where the Loome agent image should be pulled from in the Docker Image Location dropdown.
Next, optionally choose the size of the container instance. You can change the provided values if you want to modify the resources available to the agent. If you do not change these values, the size of the container instance will be the default size.
- Provide a number of CPU Cores to allocate to your container. (You can choose between 1 - 8 CPU Cores.)
- Provide the amount of memory to allocate to your container. (You can choose between 1 - 32 GB.)
Agent Configuration Settings
Next, you can specify optional configuration for the agent.
Choose whether you want to:
- Specify external storage for your container instance.
- By default, we store files, such as logs, inside the container instance. You can choose to supply an Azure Storage Account, which will allow you to easily retrieve and view log files.
- Click on the checkbox for Use an Azure Storage Account to specify this.
- Then provide:
- ‘Storage Account Name’ - The name of the Azure Storage Account where you want to store agent files.
- ‘Storage Account Key’ - One of the access keys for your storage account.
- ‘Fileshare Name’ - The name of the Azure Fileshare where you want to store agent files.
- Then provide:
- Specify Azure Virtual Networking for your Container Instance.
- If you do not use Azure Virtual Networks you can skip this step.
- Click on the checkbox for Use Azure Virtual Networking to specify this.
- You can then:
- You can supply the names or IDs of an existing Azure Virtual Network and Subnet in Azure Virtual Network ID or Name or Azure Subnet ID or Name
- If the Azure Virtual Network and Subnet reside in the same Resource Group, you can provide the names of the Azure Virtual Network and Subnet.
- If the Azure Virtual Network and Subnet reside in a different Resource Group, you will need to use the fully qualified Azure Resource IDs of the Azure Virtual Network and Subnet.
- You can supply the names or IDs of an existing Azure Virtual Network and Subnet in Azure Virtual Network ID or Name or Azure Subnet ID or Name
- You can then:
- Assign a User Assigned Identity to your Container Instance.
- By default, we will enable a System Assigned Identity and you can use this Identity to provide the Loome Agent access to resources in Azure.
- If you prefer to use a User Assigned Identity, you can provide the fully qualified Azure Resource ID in the Azure Resource ID of the User Identity field.
After you have configured the Agent with a Managed Identity, you will need to provide it with permissions to provision and manage resources within the Subscription. Learn about the roles and permissions you will need to provision here, as well as the reasons these permissions are required.