How to Create a Schedule
On this page, learn how to:
Create a New Schedule
You can create a schedule for any source system.
On the right of a source system, click on the schedules button.
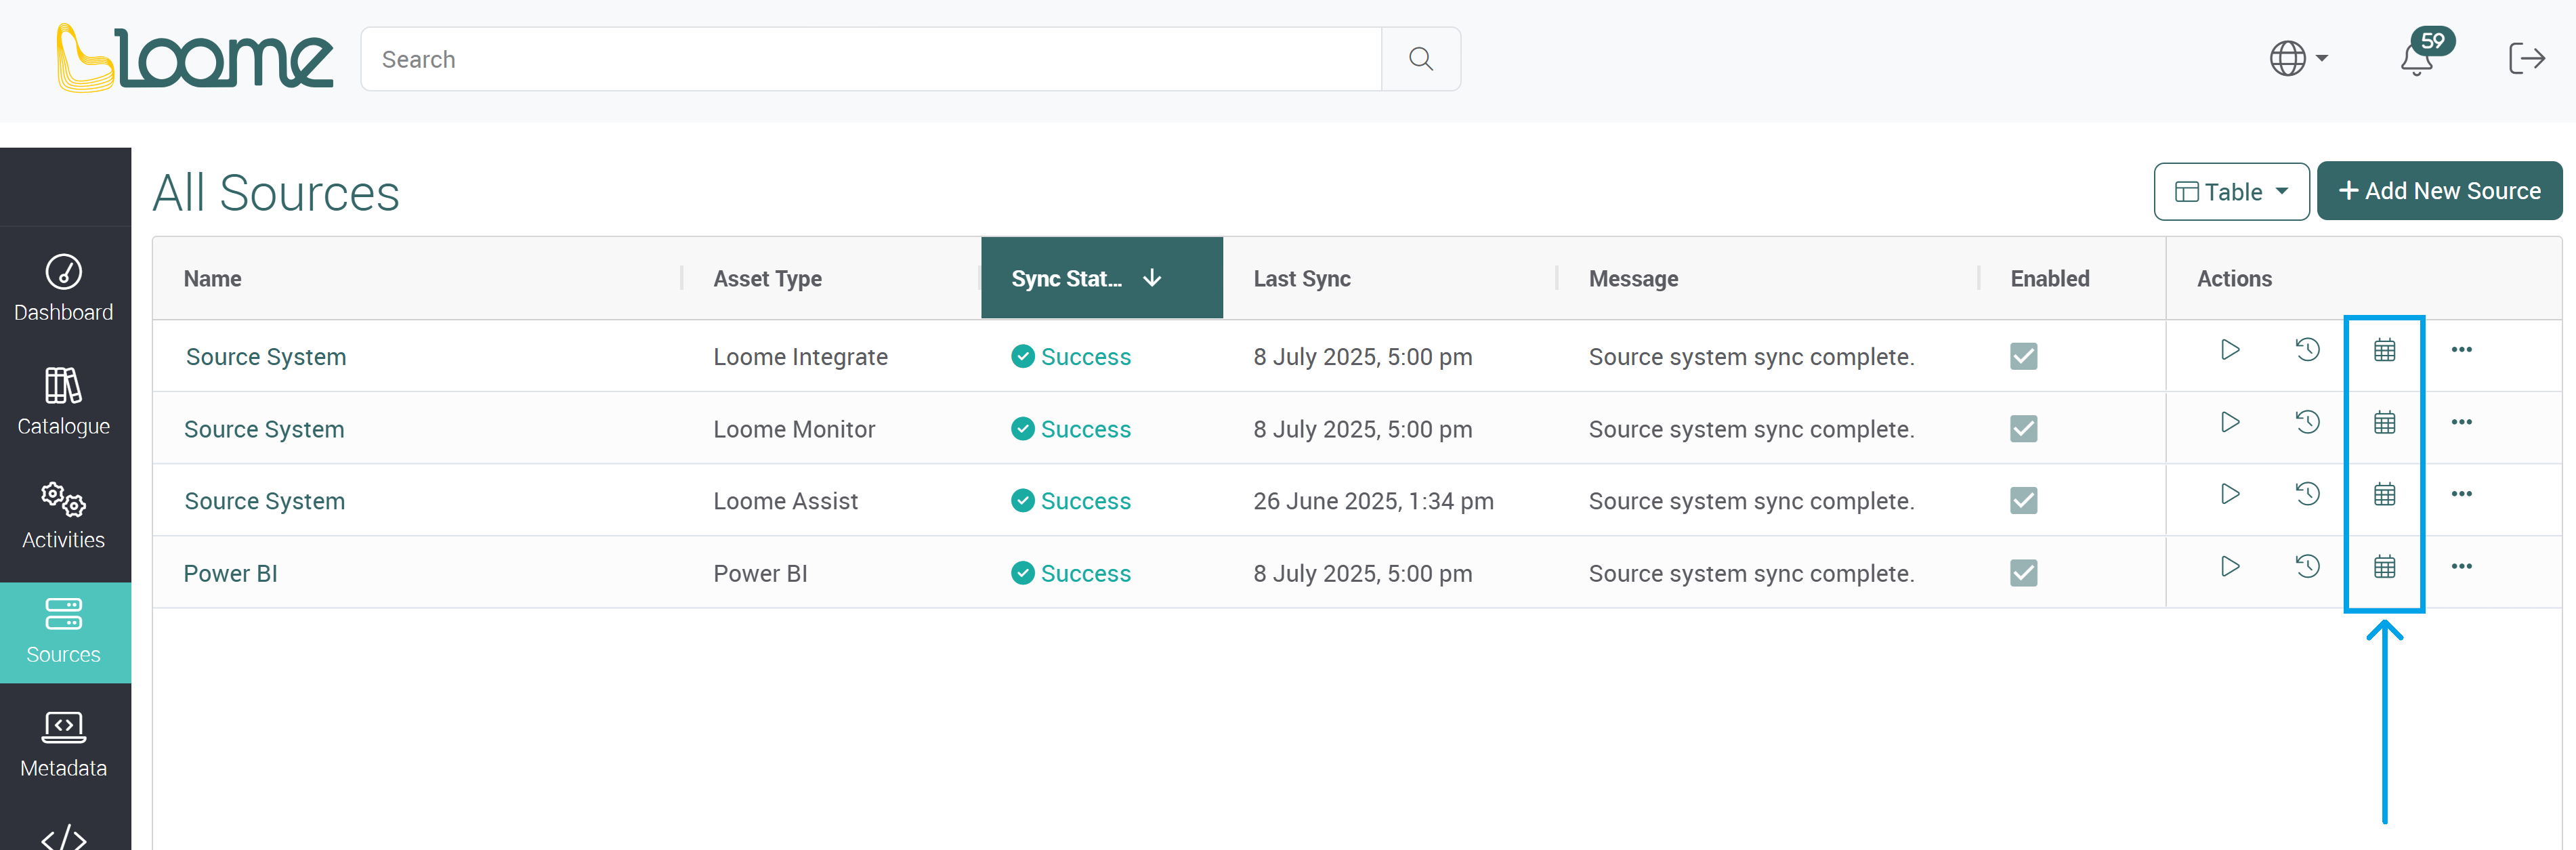
This page will display any existing schedules.
Create a new schedule by clicking on Add Schedule.

Types of Schedules
You can choose to create a schedule using either the setup wizard or by entering manual crons.

Setup Wizard
If you use the setup wizard, you can then choose between two types of schedules.

One Time
The One Time schedule type will sync a source system once at a chosen date, time and selected time zone.
After a One Time schedule has been run, it becomes “Inactive” due to it passing its scheduled execution time.
Choose One Time.
Provide a name for this schedule.
Choose the date and time that the source system sync will run.
Choose the timezone that it will run by.

Click on Next to review this schedule.
Click Create to save and enable this schedule.

Recurring
The Recurring schedule type refers to an ongoing schedule. You can create a wide range of schedules that syncs the source system every nth minute/hour with a start and optional end time, and your selected time zone.
Recurring schedules have two main configuration sections, how often the schedule will run the sync and how many times it will repeat the sync.
To create a recurring schedule, choose Recurring.
Provide a name for the schedule.

Choose the Start Date and End Date, as well as the timezone.
This will define the date the schedule will be active.
Choosing a start date will add the schedule before they are required to occur for syncing automation.
The schedule will only end if it has reached an end date. The end date is optional, and if it is not selected, the schedule will remain ongoing until it is manually disabled or if the schedule is removed.

Please note that your recurring schedule will be automatically deleted after it has reached its selected end date. At its next scheduled run, the schedule will be deleted if it is past its end date and will not sync the source system.
How Often a Schedule Will Run
You can choose whether you would like this schedule to run daily, weekly, monthly or yearly from the dropdown.
Then choose how frequently it will run:
Daily:
- You can choose whether it will sync every few days, e.g., “Run this Job every nth day” or daily.
- The default value 1 means that it will not skip any days and will sync every day.
- You can sync the source system every 1 - 7 days.

For example, it will run everyday when you choose ‘1’.

Weekly:
- You can pick which days of the week it will sync, e.g., Monday and Friday.
- You select and deselect which days of the week you want the sync to run.
- You can click on Weekdays Only? to auto-select all weekdays and not include Saturday and Sunday.

Monthly:
- You can choose to sync every month automatically and which day of the month it will run.
- For example, you can choose to sync on the 1st every month. Or on the 1st every two months.

Yearly:
- You can select the month and day that it will sync.
- For example, it will sync every year on the first of January.
Frequency
You can choose the frequency that it will sync and whether it will run every nth minute or hour, or if it will only run once that day.

Just Once:
Just once allows the user to create a schedule that syncs at a particular time once daily, weekly or monthly, according to the time period that has been selected above.
Choose Just once from the dropdown, and then choose the time it should run.

Minutely:
Minutely means you can sync every few minutes.
You can sync every 1 - 59 minutes. For example, you can sync every 30 minutes.
Then choose when the schedule will start and end. This example will start at 9 AM and will continue to run every 10 minutes until the end of the day.

Hourly:
Hourly means you can run a source system sync every few hours.
You can sync every 1 - 23 hours. In the following example, you can sync every hour.
Choose when the schedule will start and end. This example will start at 10:00 AM and continues till 5:00 PM.

If the start time is later than the end time, the system will treat the end time as the time found on the next day. This is how you can create overnight schedules.
Complete Schedule
Review your schedule details, and click Create to save and enable this schedule.

How to Create a Manual Crons Schedule
To add a manual crons schedule, add a schedule and choose Manual Crons.
Crons schedules are only available as a recurring schedule.
Provide a schedule name, and choose a start date, end date and timezone.

Provide the crons for this schedule and then click Add.

For example, 0 9 * * 1 will sync at 9:00 AM on Mondays.
The added crons schedule will be listed below.
Optionally, you can add more than one crons expression to this schedule. Provide the additional schedule and click Add.
Click on Next.

Review your schedule.
If you would like to make changes, click on Previous.
If you would like to proceed and save the schedule, click on Create.

You can view your schedule in the schedule table.