Projects
Projects are used to categorize your rules. Your rules may apply to multiple areas of your organization, you can categorize them into different projects to easily organize and find each rule. This means you may have separate projects for Human Resources, Marketing, Finance and Accounting.
Learn more about:
- The Loome Monitor Homepage
- The Projects Slide-out
- The Project Page
- Card and List View
- Project Management
- Project Roles
- Project Connections
Loome Monitor Homepage
You can select a project from the homepage. All existing projects are displayed at the bottom of the page.
You can also click on ‘Manage Projects’ beside your existing projects at the bottom of this page to edit your projects.
To create a new project, learn more here.
Projects Slide-out
Existing projects will be displayed in the sidebar on the left. Choose a project to be directed to the project’s rules.

From this sidebar you can also:
- Click on ‘Manage Projects’ to manage your projects and edit or delete a project. You will be directed to a page with a list of all existing projects.
- Administrators and project creators can also create a new project from this slide-out using the ‘+’ at the top-right.

When creating a new project, provide a friendly name to easily identify the type of rules that you will add to this project.

Then, add members to your project. (Learn more about adding project members here.)
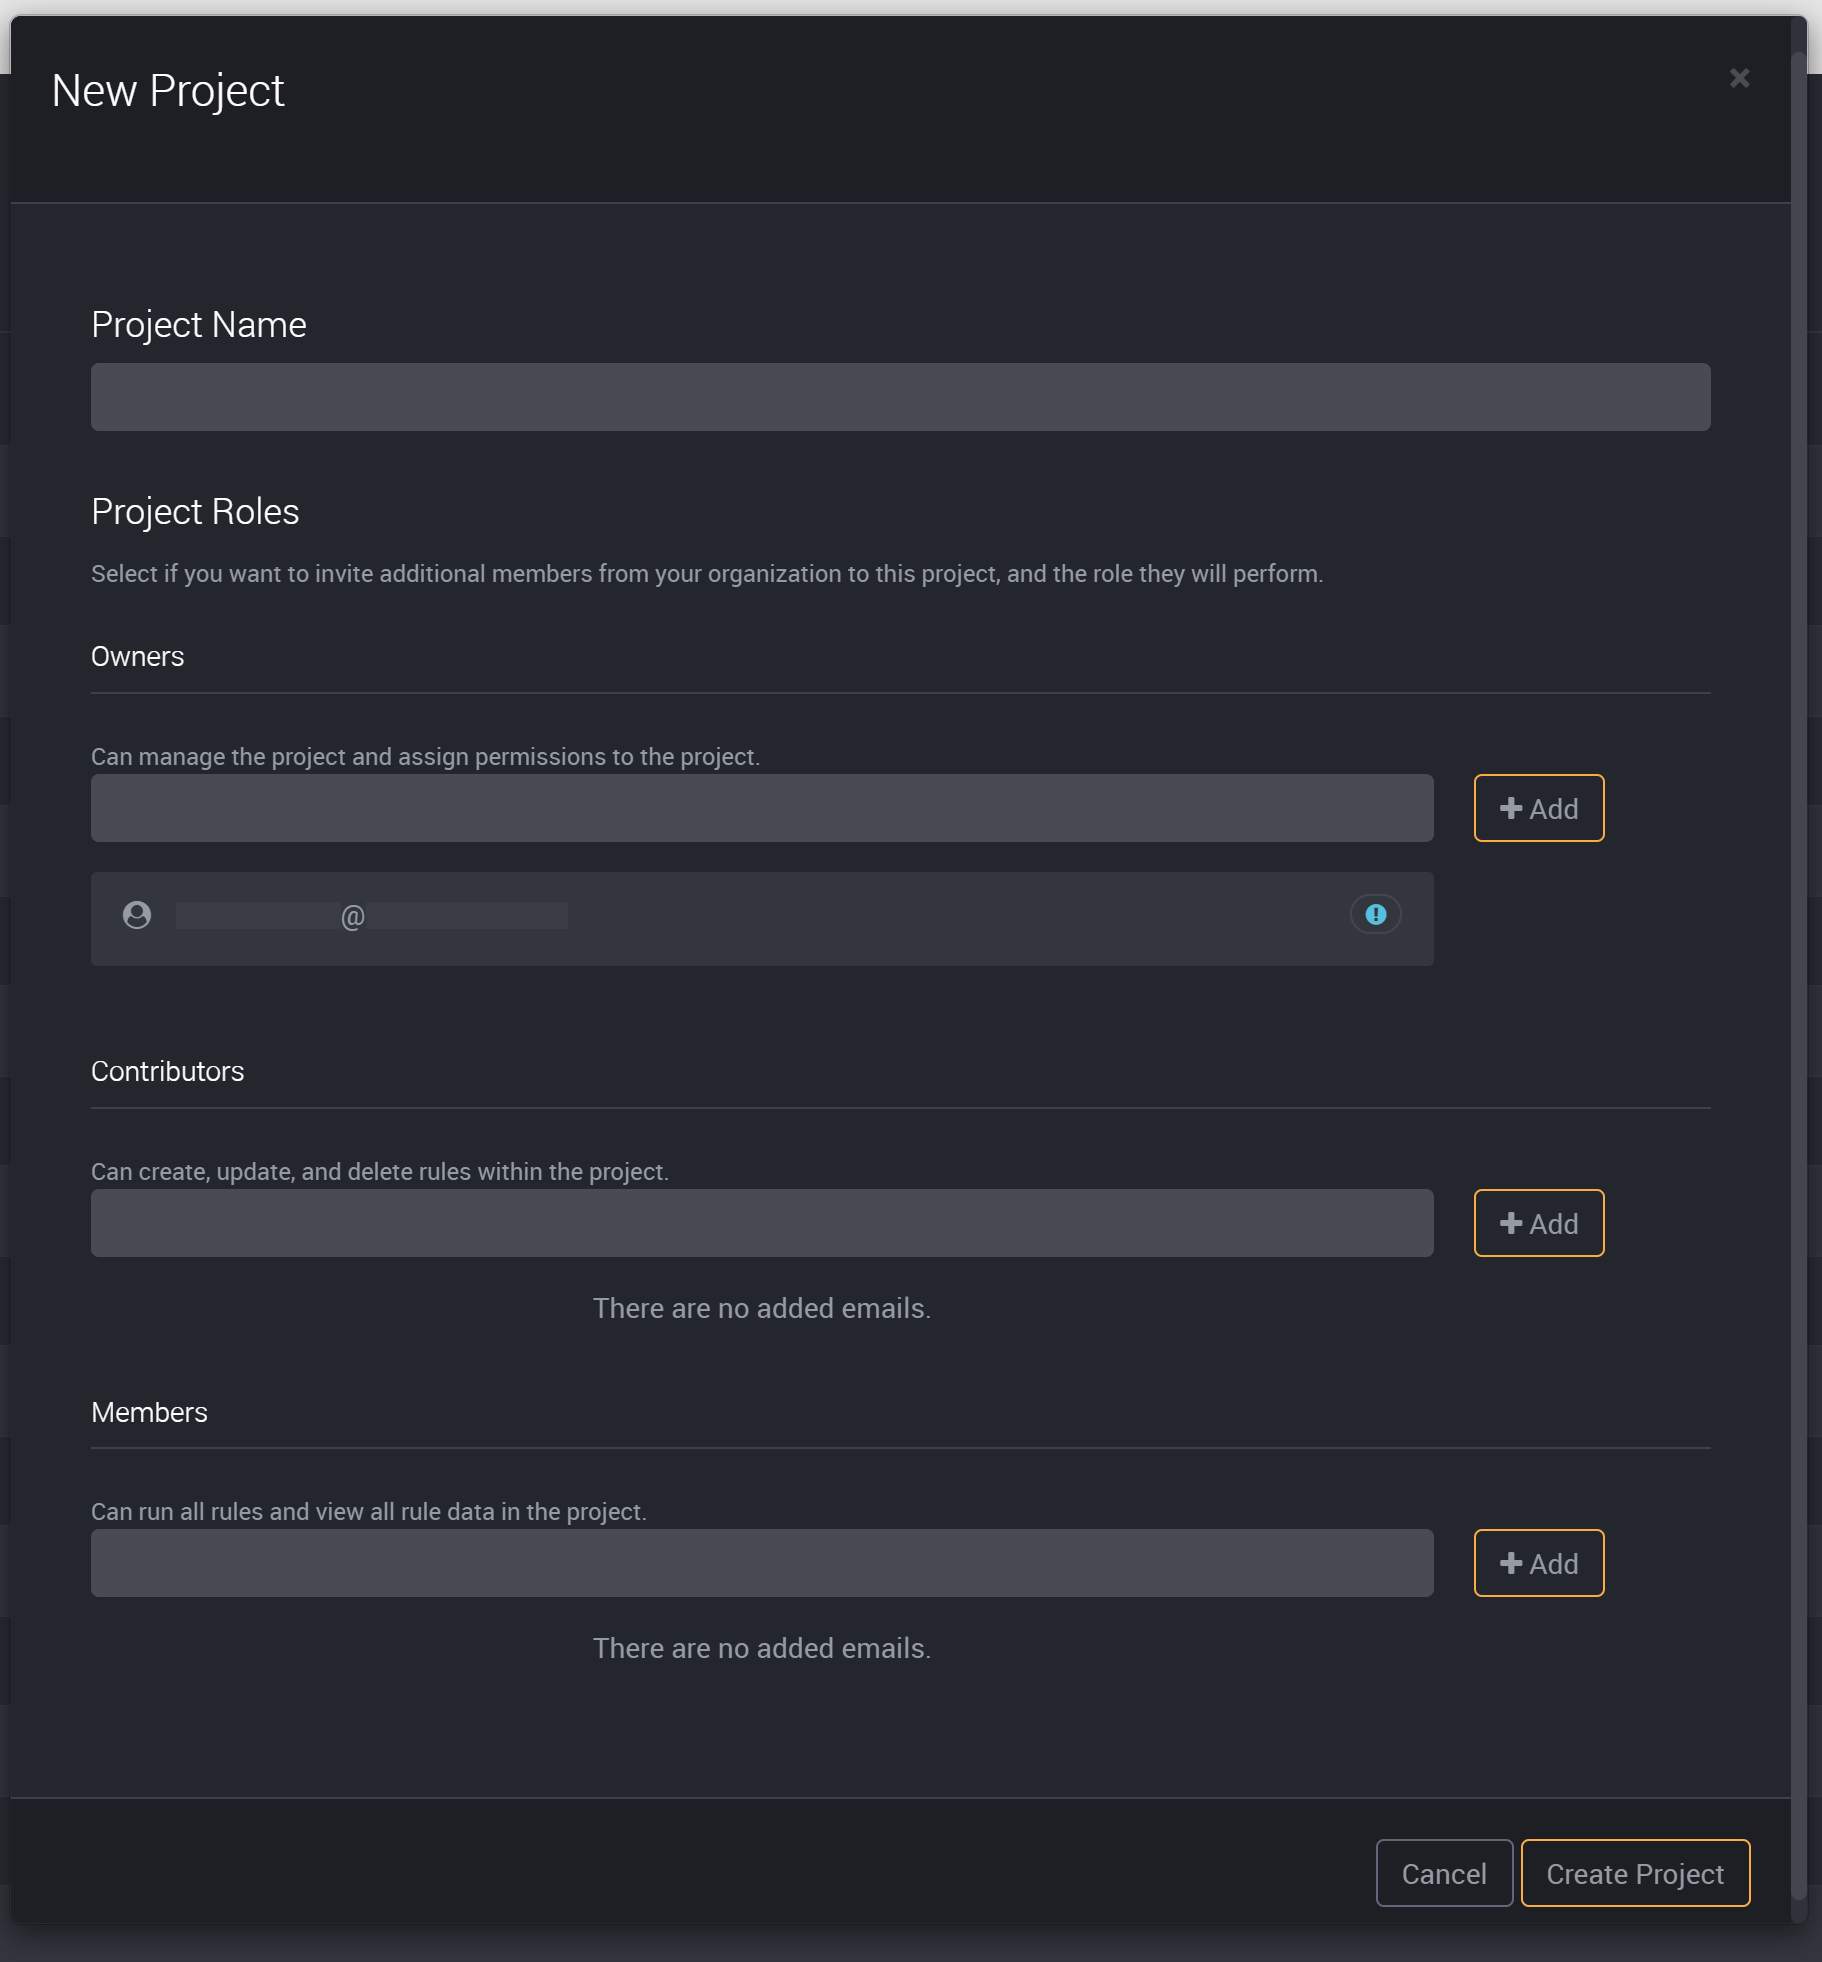
Click on ‘Create’ and you will then be able to select this project on the homepage or left-hand project slide-out.
The Project Page
In a new project, Administrators and Project Creators can get started by clicking on the Create New Item button. Learn more about how to create a rule in our guide here.

If you are viewing an existing project, you will find all related rules for this project on this page.
Currently there are four actions you can select from for a rule on the project page. This will vary according to your application role and project role, learn about what your role can do on the application roles page or the project roles page.
- On the card of a rule, you can click on the run button to execute this rule.

It will display the progress of the execution of this rule and you can view its execution steps in the expanded slide-out.

- You can edit a rule by clicking on the edit button found next to the run button. Learn more about editing rules here.

- Click on the results button to view the results of this rule. You will be directed to its results page. You can also click on the title of a rule to view its results.

- Click on the Delete button to delete this rule. You will be prompted to confirm that you would like to remove this rule.

If you would like to delete both the rule and its underlying tables and views in the target connection, then enter the rule’s name into the confirmation field.
If you would like to keep the output tables and views in the target data base and only delete the rule, then you can leave this field blank and they will not be deleted.
Please note that you will need to manually remove archived tables.

- When you are running a rule, you also have the option to cancel its execution via the cancel button on the rule card or row, and execution slide-out.

- When running a rule from its card or row, you can also click on View Execution Status to expand the execution steps slideout and view its progress.

Card and List View
You can choose to view your rules as cards or in a list.
You can change this view by clicking on the Card and List buttons in the right-hand slide-out.

In list view, all rules will display in a list with information about the rule and its actions, as shown in the image below.

In list view you can sort and filter the rules that are in your project, using the filters beside each column name.

It will expand and you can filter on a column, choose to hide or show columns, pin columns to the left or right, autosize or reset your applied filters.

You can also hide or unhide columns in a project when viewing rules in list view. The ‘Created by’ and ‘Created Date’ columns will be hidden by default, you can use the filter option on any column to select which columns will be displayed or not.
Select the checkboxes of the columns you would like to view.

When any column filtering or sorting is applied, you can click on Reset View at the top-right of the table to return to the default view.

You can group rules on the values in a chosen column to help view and categorize rules.
Click and hold on a column title.

Drag the column into the row above.

It will separate the rules into groups in the Group column on the left of the table.
You can expand on each section to view the rules in each group.

Manage Project Roles and Connections
You can apply roles to users for this project and choose which connections will be available in your project.
You can manage roles and connections specific to your project from the right-hand slideout. Learn more about roles here and connections here.
